Painted Exposed Basement Ceiling: A Stylish & Practical Guide
Hiding an unfinished basement ceiling behind drywall used to be the default move. These days, more homeowners are doing the opposite — leaving the joists, ductwork, and pipes on full display and coating them in a single, cohesive color. The result is a raw-meets-polished industrial look that costs less, takes less time, and gives the room back precious height. This guide breaks down why the painted exposed ceiling has become such a popular basement upgrade, how to actually do it, and a handful of design directions to consider once you’re ready to pick up a sprayer.
Why a Painted Exposed Ceiling Makes Sense
Before grabbing paint swatches, it helps to understand what you’re actually gaining with this approach. It’s not just a look — it solves several real problems basements tend to have.
- More usable headroom: Skipping a dropped or drywalled ceiling means you keep every inch of vertical space the room actually has, which matters a lot in a basement that already tends to feel low and boxed-in.
- Lower cost: Paint and supplies are dramatically cheaper than framing, hanging, and finishing a drywall ceiling — this is consistently one of the most affordable basement ceiling upgrades available.
- Easy access to systems: Wiring, plumbing lines, and ductwork stay fully visible and reachable, so any future repair or upgrade doesn’t mean cutting into finished drywall.
- An urban, loft-like character: Left exposed and unified under one paint color, the structure itself becomes the design feature — a look that reads modern rather than unfinished.
- A much faster project: Painting is quick compared to the multi-step process of framing, insulating, hanging, taping, and finishing a traditional ceiling.
How to Paint an Exposed Basement Ceiling, Step by Step
The quality of the final result depends almost entirely on the prep work. Skipping steps here is the fastest way to end up with a patchy, unfinished-looking ceiling.
Step 1: Clean Everything Thoroughly
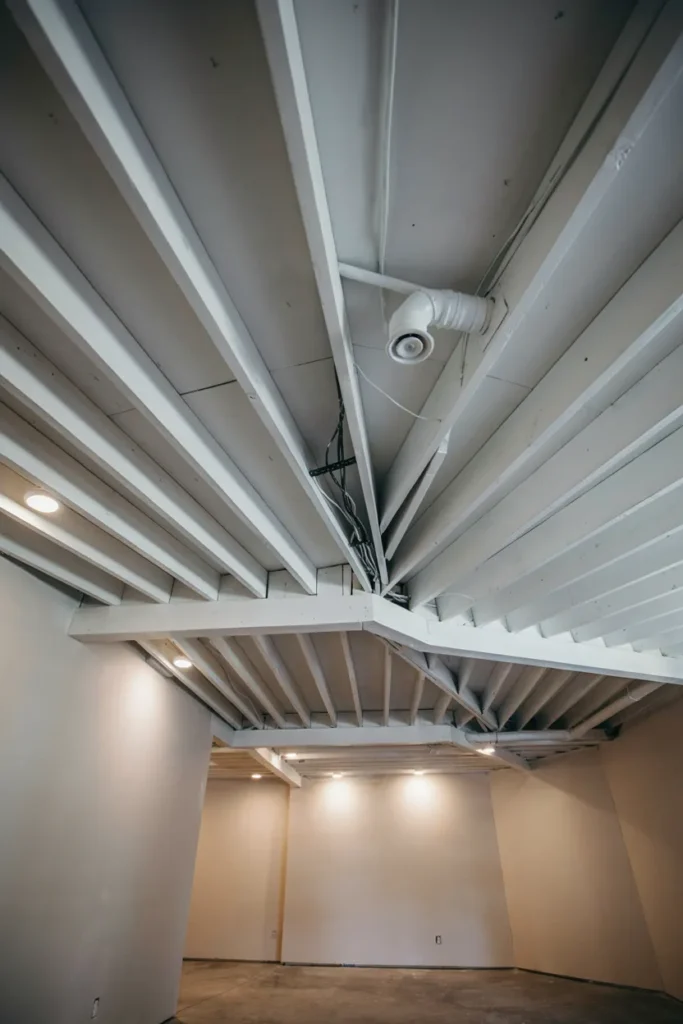
Start by clearing away every bit of dust, cobwebs, and construction debris. A stiff broom works well for the joists and the underside of the subfloor, and a shop vacuum with a brush attachment will catch what the broom leaves behind. If the space sits near a kitchen or an older furnace, you may be dealing with a layer of greasy residue — a degreasing cleaner will cut through that before you prime.
Step 2: Check for Problems and Fix Them First
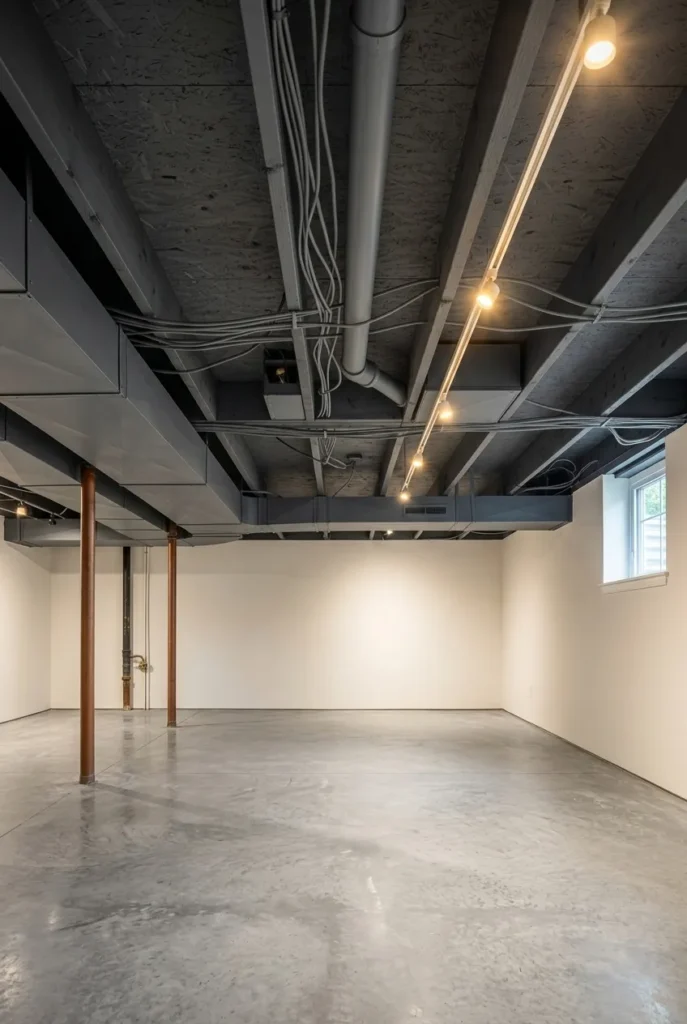
This is your chance to catch anything hiding above the drywall line before it gets sealed under paint.
- Look for moisture: Any sign of a leak or condensation on pipes and ducts needs to be addressed before you touch a paintbrush.
- Check wiring: Make sure every wire run is properly fastened to the joists with the correct staples or clips.
- Wrap cold pipes: Adding pipe insulation now helps prevent future condensation from dripping onto your finished paint job.
Step 3: Prime Before You Paint
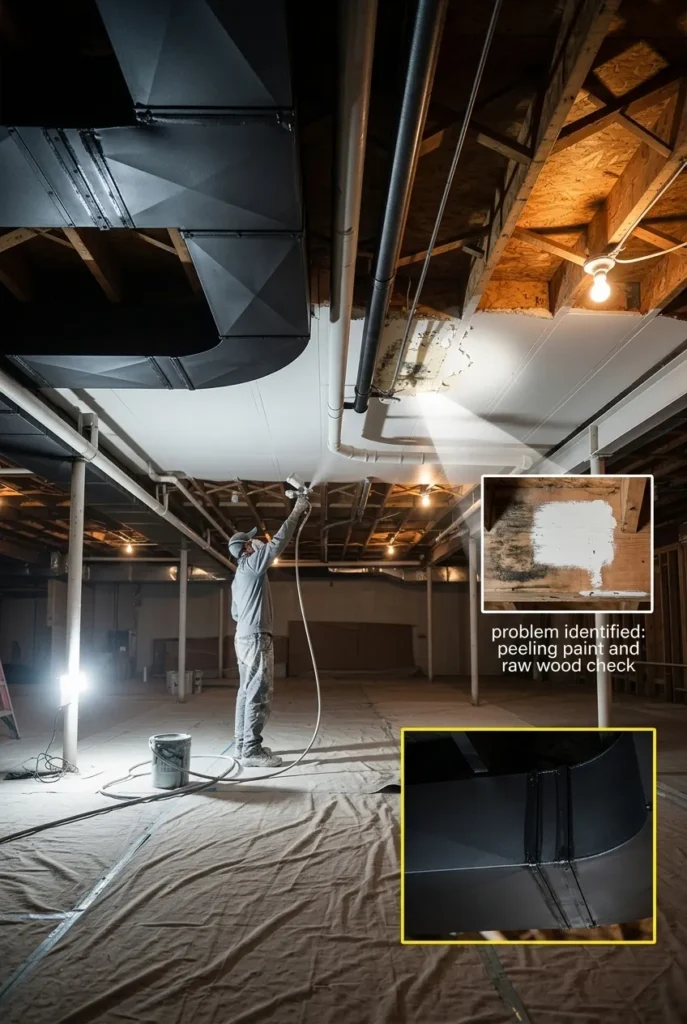
A stain-blocking primer isn’t optional here. It locks down raw wood so tannins don’t bleed through later, gives the topcoat a consistent surface to grip, and covers up any existing stains or discoloration on the joists and subfloor. A paint sprayer is by far the most efficient way to prime a space this irregular — rollers and brushes struggle to reach every angle of an exposed ceiling.
Step 4: Pick Your Paint Color
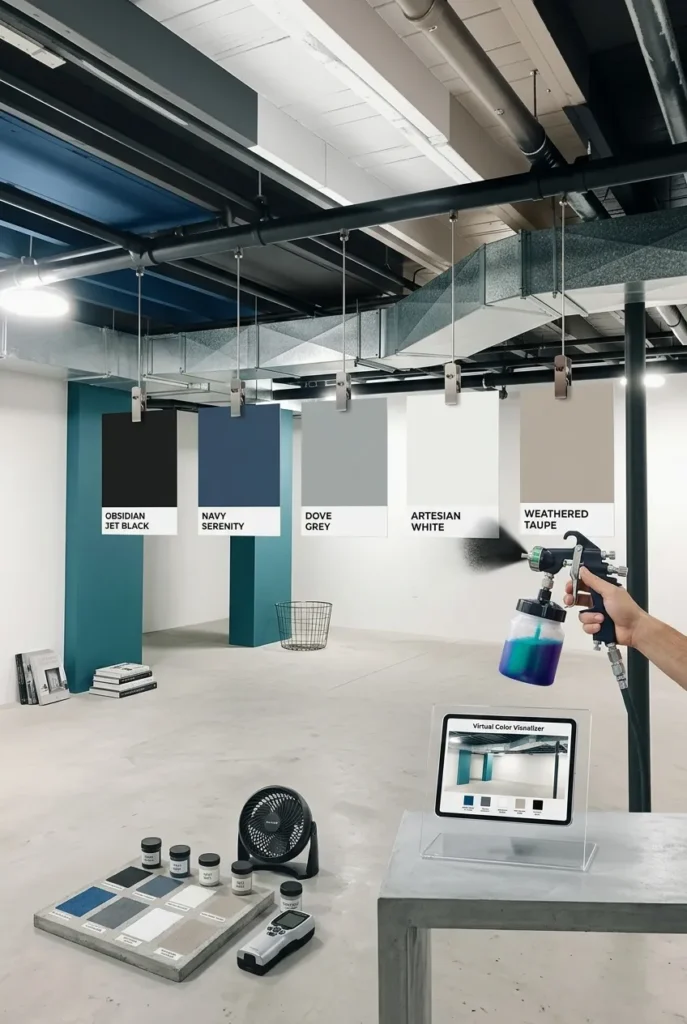
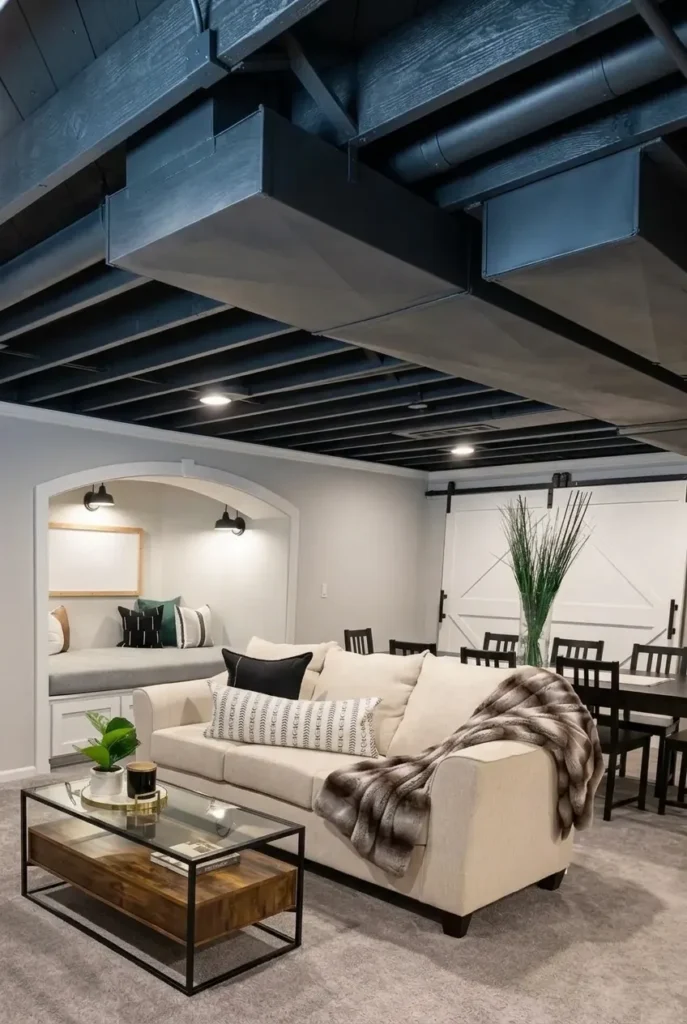
A flat or matte finish in black is the go-to choice for good reason: it hides imperfections, cuts down on glare, and visually pushes pipes and ducts into the background so the whole ceiling reads as one unified plane. That said, it’s not the only option.
- Black or charcoal: The most common choice — sleek, forgiving, and reliably industrial.
- White: Makes the ceiling feel taller and brightens the room, but shows dirt and imperfections more readily.
- Navy or dark green: Delivers the same recede-into-the-background effect as black while adding a more distinctive color statement.
Step 5: Apply the Paint
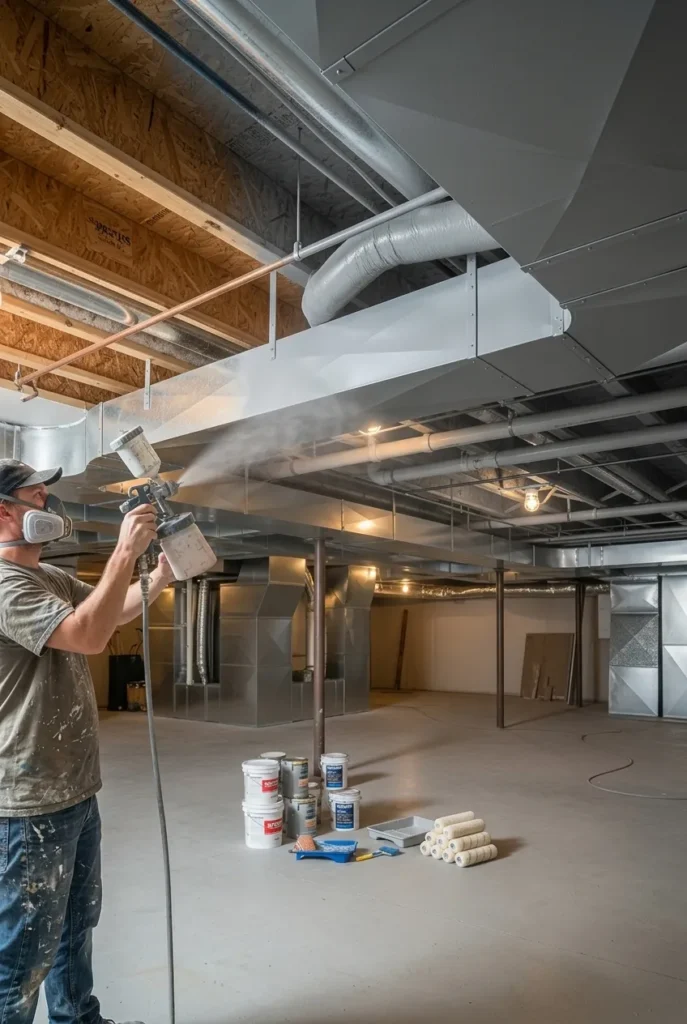
A sprayer is worth the rental or purchase if you can manage it — it covers the odd angles of joists, pipes, and ducts far faster and more evenly than hand-rolling. If you’re working with just a roller and brush, plan for a longer, more labor-intensive process. Either way, two thin coats will hold up better and look more even than one heavy one.
Design Directions for Your Painted Ceiling
Once the basics are settled, there’s room to make the finished ceiling feel intentional rather than purely functional.
1. The Classic All-Black Ceiling
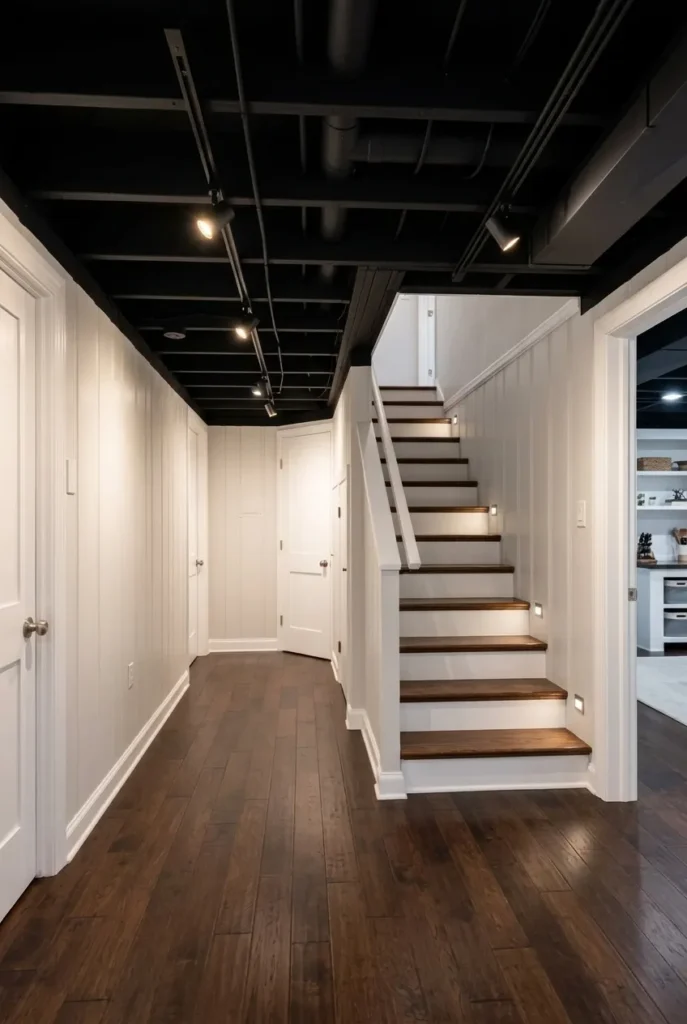
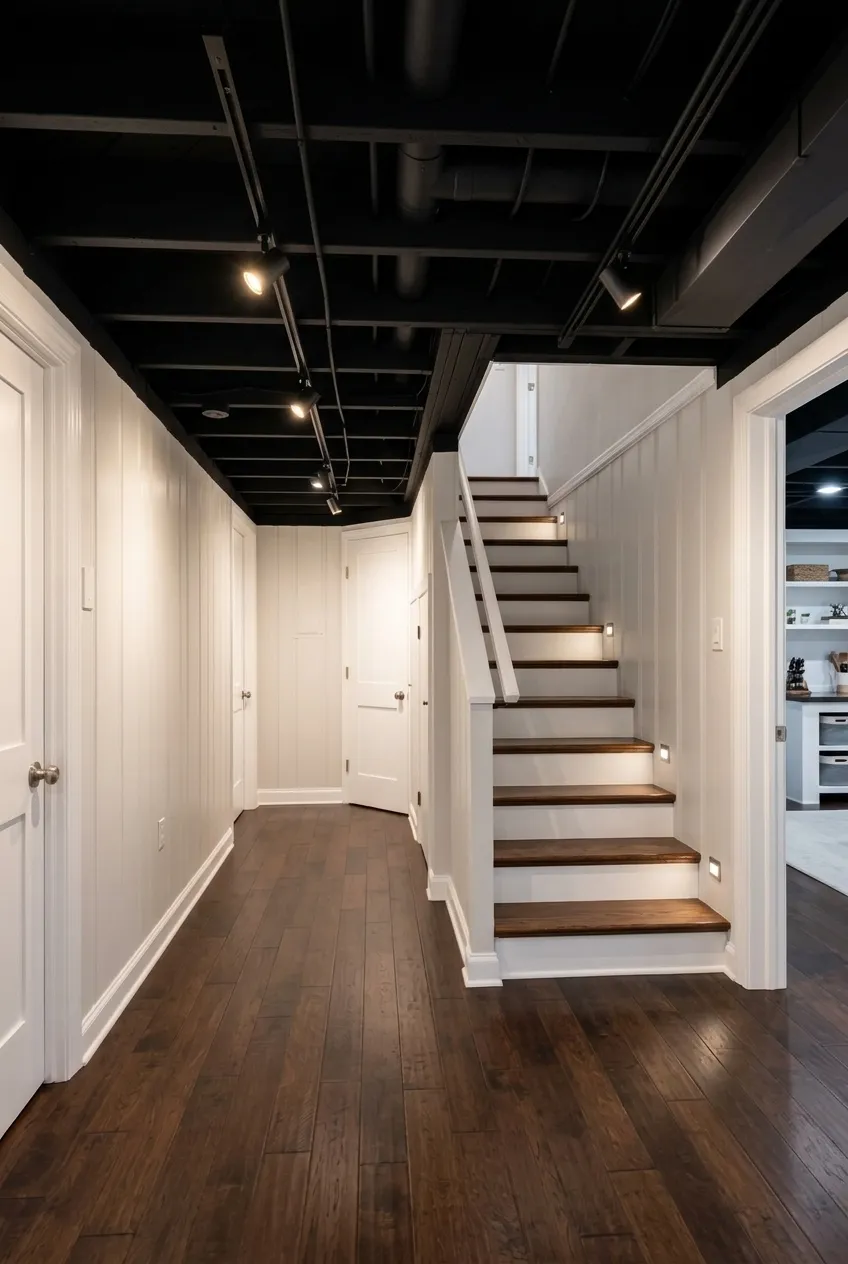
The most straightforward and reliable option: everything — joists, ducts, pipes, wiring — gets the same flat black finish. The ceiling recedes into a dark plane overhead, letting the actual living space below do the visual work. It’s a natural fit for industrial or earthy interior styles alike.
2. The Two-Tone Contrast
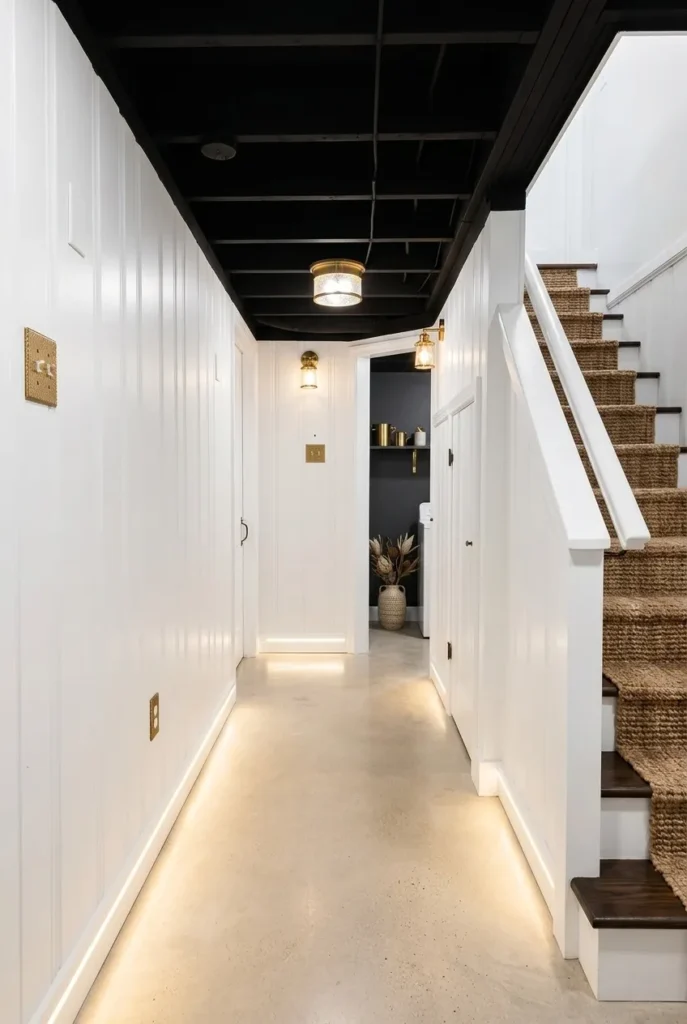
For a more architectural effect, paint the structural elements (joists, subfloor) one color — often white — and the mechanical systems (ducts, pipes, conduit) a contrasting color like black. This turns the bones of the house into a deliberate graphic feature instead of something to visually ignore.
3. Highlight with Color
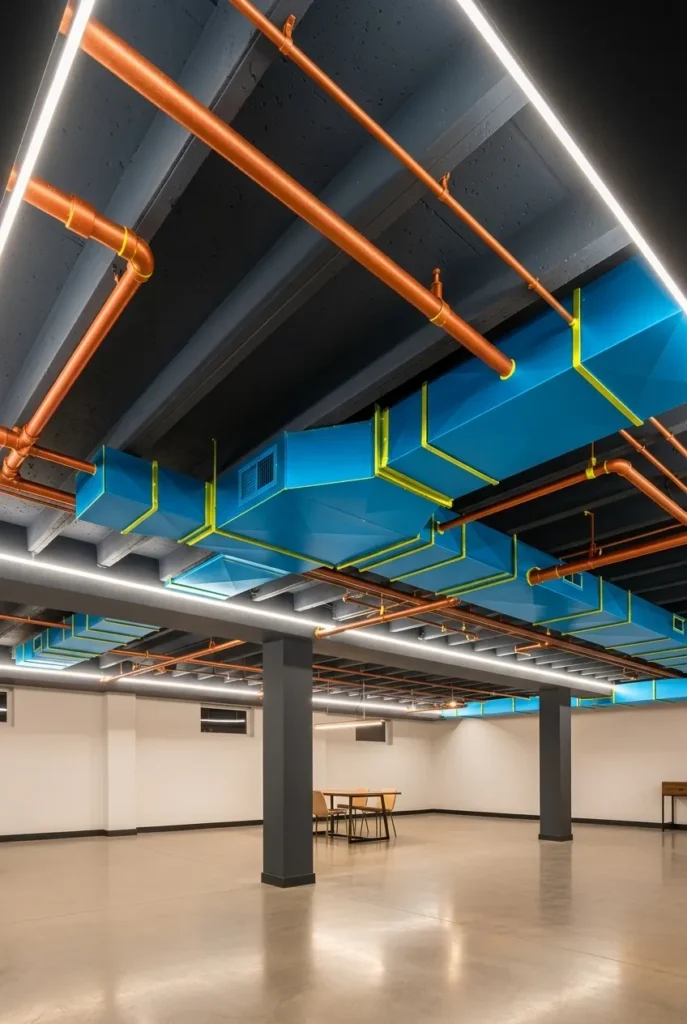
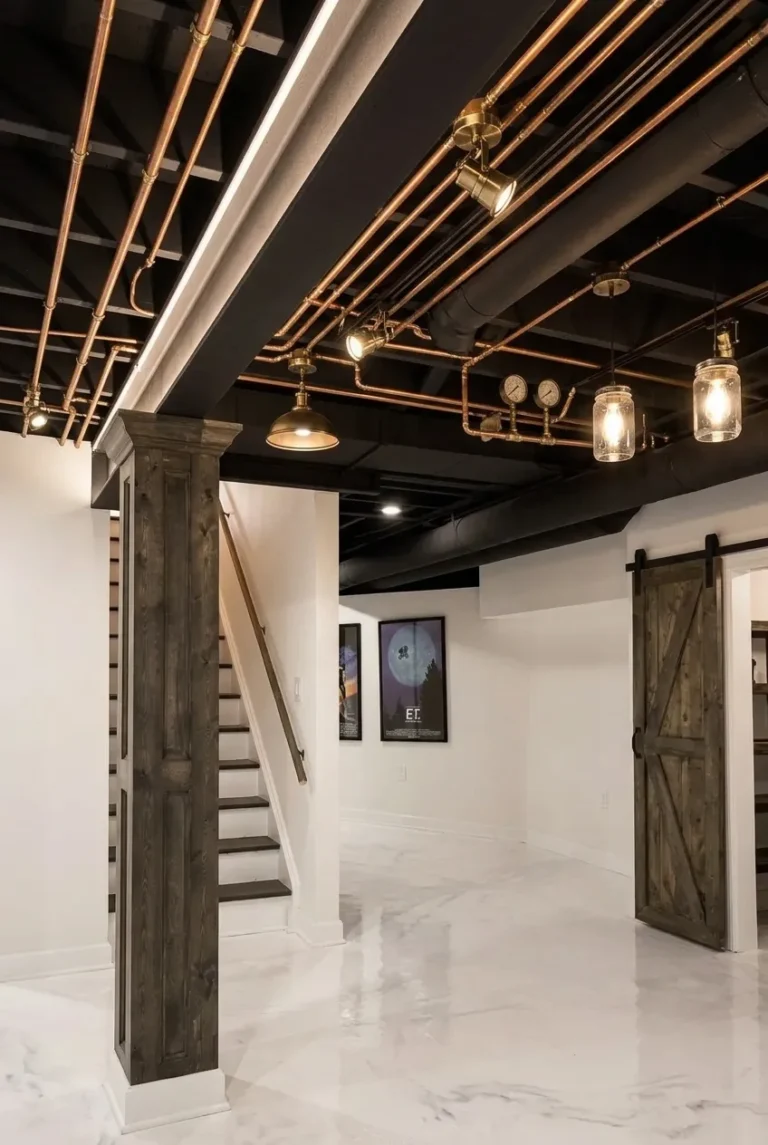
Keep the joists and subfloor neutral — black or white — and paint the ductwork and conduit in a bold accent shade like copper, bronze, or even red. The functional guts of the ceiling become a sculptural, almost artistic element rather than something to disguise.
4. Incorporate Smart Lighting

An open ceiling structure is also an easy opportunity to rethink lighting entirely. Consider:
- Track lighting for flexible, adjustable illumination throughout the space.
- Pendant lights dropped over a specific zone — a pool table, bar cart, or seating cluster — to visually anchor that area.
- Exposed filament bulbs to lean further into the industrial, vintage-warehouse feel.
Things to Weigh Before Committing
The upside is real, but there are a couple of trade-offs worth planning for:
- Sound carries more: Hard, exposed surfaces reflect noise more than a finished ceiling would. Rugs, curtains, and upholstered furniture go a long way toward softening the acoustics.
- Less insulation: You lose the thermal and sound-dampening benefit a finished ceiling provides, so well-insulated walls and a floor rug matter more if the space runs cold.
Conclusion
A painted exposed basement ceiling shows that a great-looking basement doesn’t require a complicated, expensive buildout. By leaning into the raw structure that’s already there — instead of covering it up — you get a room that feels taller, stays easy to maintain, and carries genuine architectural character. It’s a straightforward project with an outsized payoff, turning the least glamorous part of your basement into one of its most defining features.
Frequently Asked Questions
Is it safe to paint over wires and pipes directly?
Plumbing lines are generally fine to paint over, though it’s worth masking off valves and fittings first. Electrical wiring is a different story — painting directly over it can make future troubleshooting harder, so it’s better to paint the joists and subfloor around the wires and leave them in their original color or bundle them neatly instead.
What kind of paint works best for this project?
A water-based latex paint in a flat or matte finish is the standard recommendation. The non-reflective surface hides small imperfections and cuts glare from overhead lighting, and it’s easier to touch up later than a glossy finish, which tends to highlight every pipe and seam.
Can this be done in a rental property?
It’s worth getting explicit sign-off from a landlord first. Because this changes the finished character of the ceiling in a way that’s difficult to reverse, it’s generally not a project to take on without permission in a rented space.
What if my basement already has low ceilings?
This approach actually helps more than it hurts in a low-clearance basement. Removing a dropped ceiling reclaims every inch of available height, and a dark, receding color like black or charcoal makes the space feel taller than a low, textured ceiling ever would.