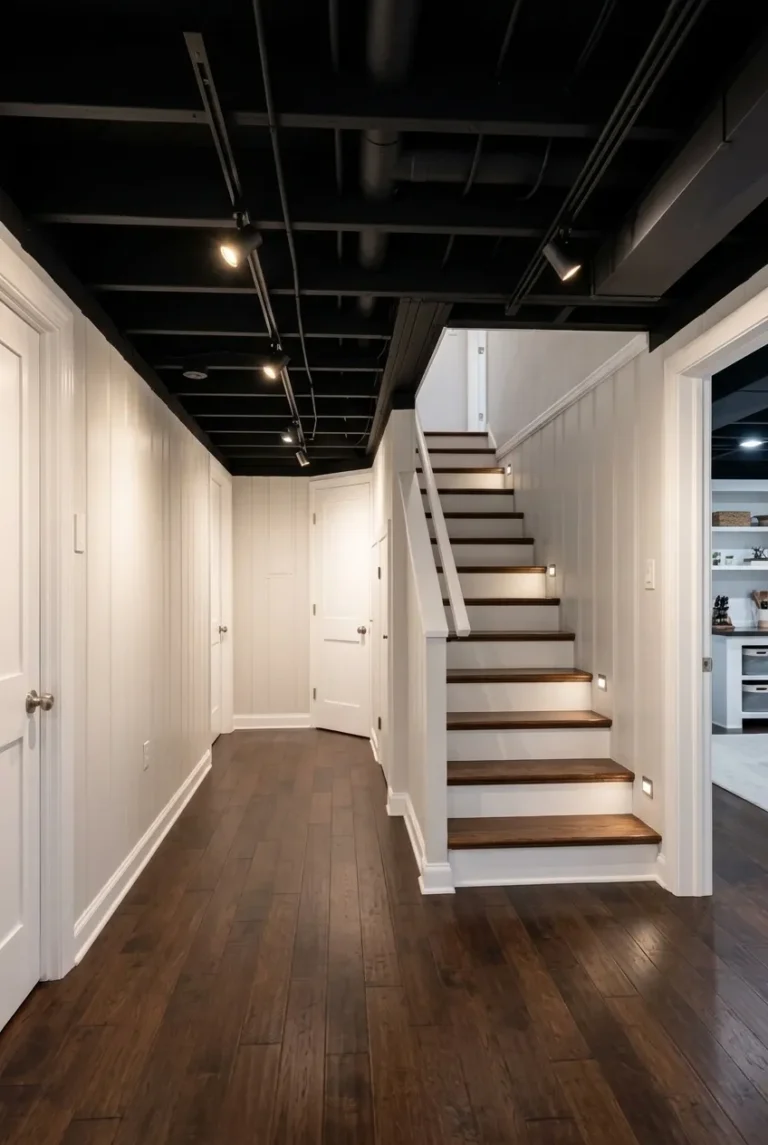
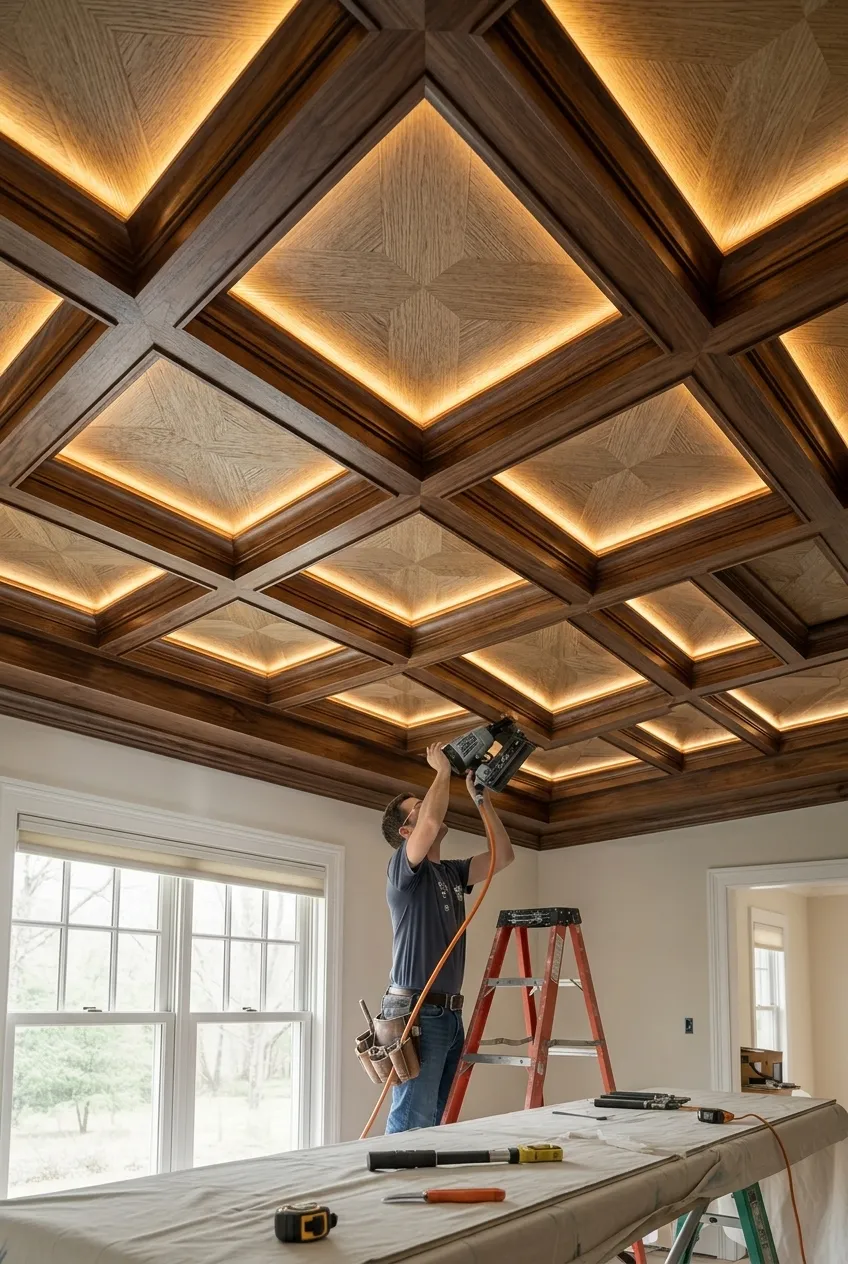
How to Get Rid of a Popcorn Ceiling: Removal, Covering & Painting Options Explained
Popcorn ceilings remain one of the most recognizable and polarizing features in older homes, loved by some for their nostalgic charm and disliked by others for their dated, hard-to-clean texture. Whether you’re planning a full removal, considering a cost-effective covering solution, or simply want to refresh the look with paint, this guide walks through every major option available. From safety considerations around asbestos to room-specific advice and cost comparisons, this resource covers everything homeowners need to know before starting a popcorn ceiling project.
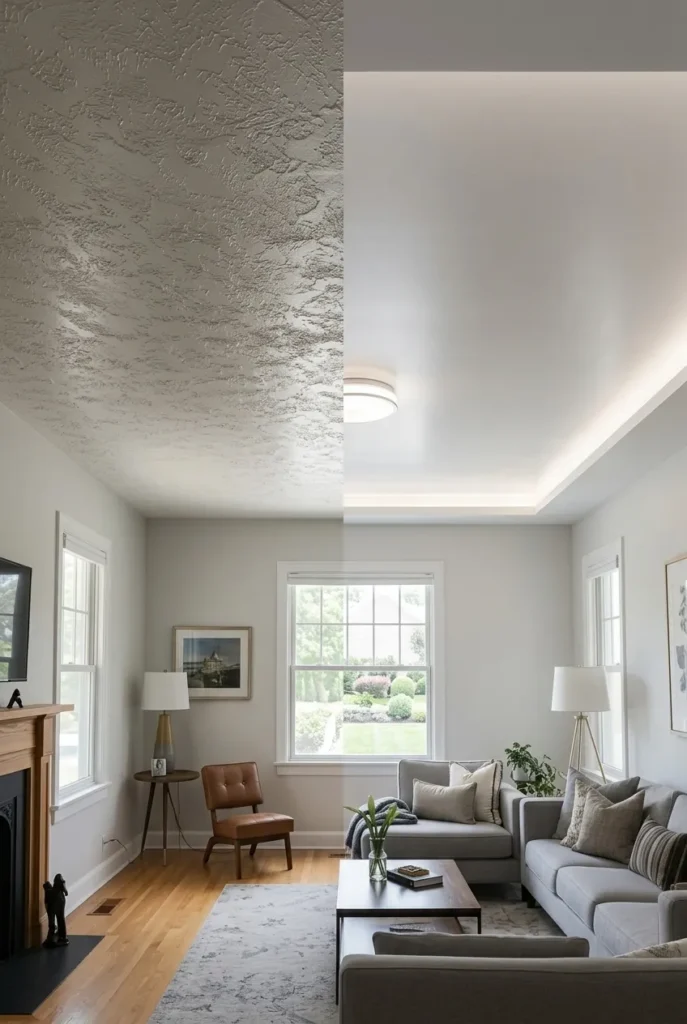
What Is Popcorn Ceiling and Why Was It Popular?
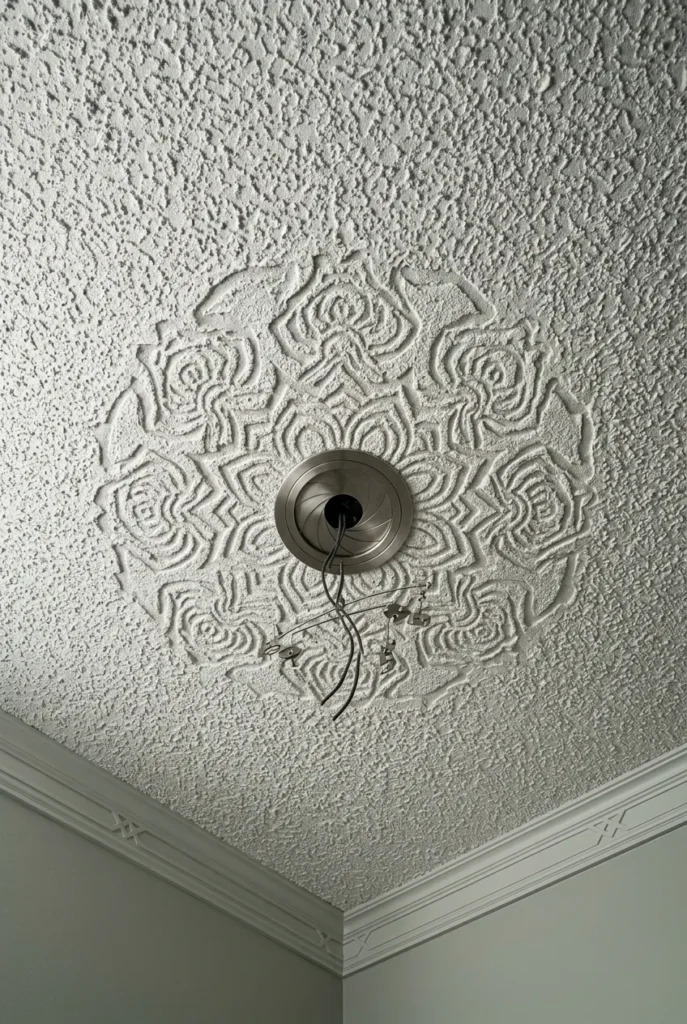
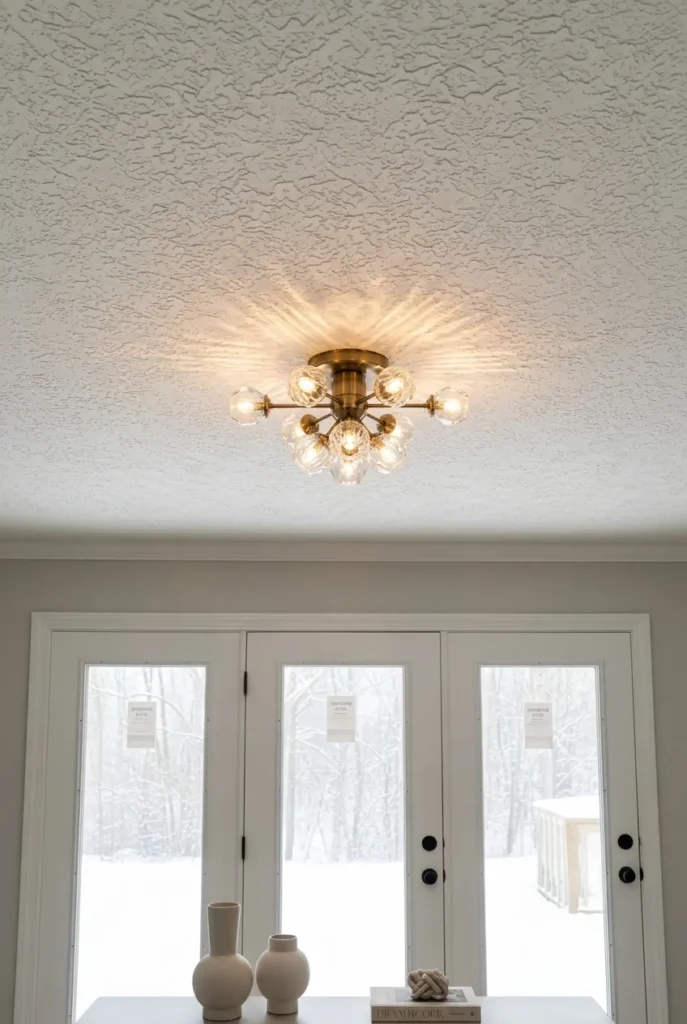
Popcorn ceiling, also known as acoustic or stipple ceiling, refers to a textured spray-on finish that became a standard feature in homes built primarily between the 1950s and 1980s. The bumpy, irregular texture was created by mixing paint or joint compound with materials like Styrofoam or vermiculite, then spraying it onto the ceiling surface. Understanding why this style became so widespread, and why it eventually fell out of favor, helps explain why so many homeowners today are looking for ways to update this dated feature.
Why Builders Used Popcorn Ceilings
Popcorn ceilings were popular among builders largely because the textured finish was fast and inexpensive to apply, requiring far less skill and labor than achieving a smooth, flawless ceiling surface. The texture was also effective at hiding minor imperfections, seams, and construction flaws that would otherwise be visible on a flat ceiling. Additionally, the material provided modest soundproofing benefits, which made it especially popular in multi-story homes and apartment buildings.
Why Popcorn Ceilings Fell Out of Favor
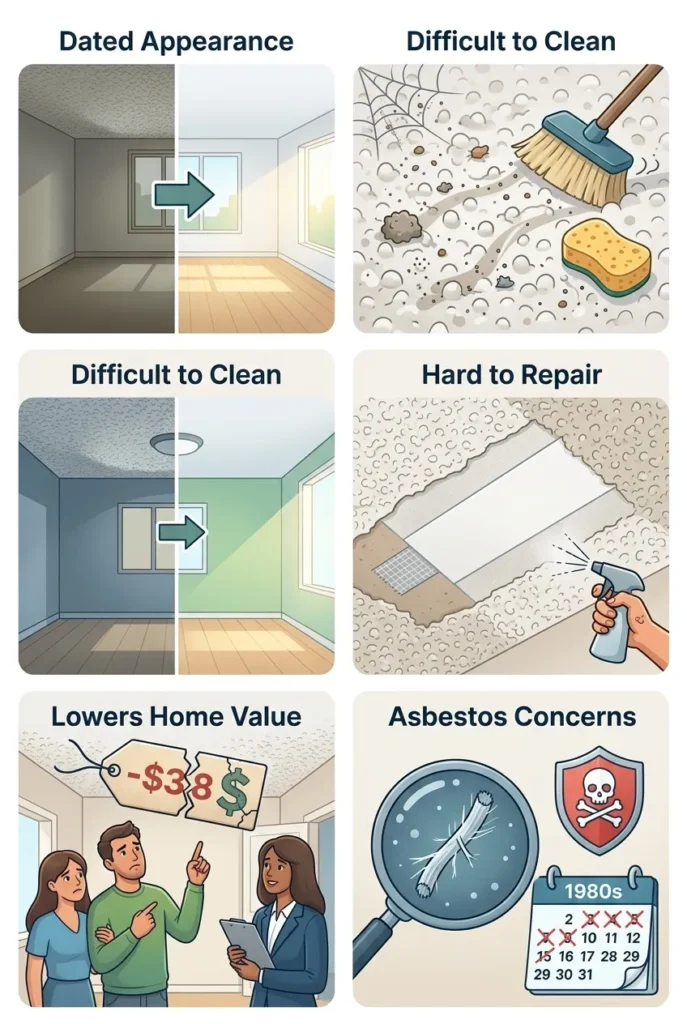
As design trends shifted toward cleaner, more minimalist interiors, popcorn ceilings began to feel outdated and were increasingly associated with older, unrenovated homes. The texture is also notoriously difficult to clean, tends to collect dust and cobwebs, and can be easily damaged by even light contact. Growing awareness of asbestos-containing materials in older ceiling products further accelerated the decline in popcorn ceiling popularity starting in the 1980s and beyond.
The Asbestos Issue: What You Need to Know
One of the most important considerations before starting any popcorn ceiling project is determining whether the material contains asbestos, a mineral fiber once commonly used for its fire-resistant and durability properties. Because asbestos exposure poses serious health risks, understanding when it may be present and how to safely handle it is a critical first step in any removal or renovation plan.
When Popcorn Ceilings Contain Asbestos
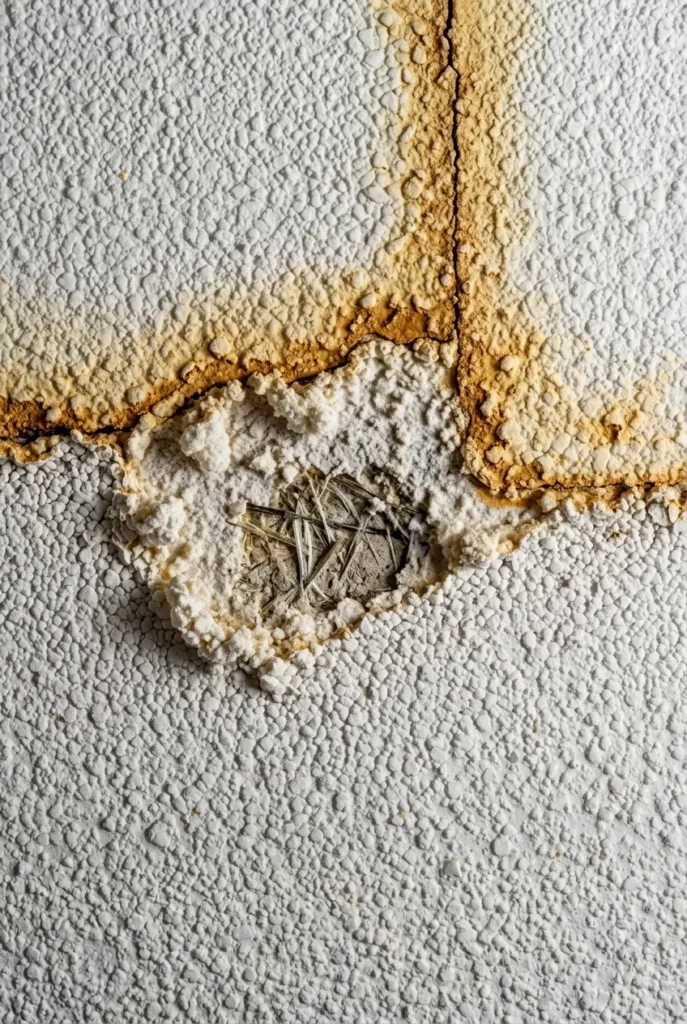
Popcorn ceilings installed before 1980 have a significantly higher likelihood of containing asbestos, since the material was commonly used in these products until it was largely phased out due to health regulations. Homes built or renovated between 1980 and the mid-1990s may still contain asbestos in some cases, as manufacturers gradually transitioned away from the material over several years. Ceilings installed after the mid-1990s are generally considered low risk, though testing is still recommended for certainty.
Testing for Asbestos
The only reliable way to confirm whether a popcorn ceiling contains asbestos is through professional laboratory testing, which involves collecting a small sample of the material for analysis. While at-home testing kits are available, many experts recommend hiring a certified asbestos inspector to ensure the sample is collected safely and accurately. Disturbing the ceiling texture without proper testing and precautions can release asbestos fibers into the air, increasing the risk of exposure.
If Your Ceiling Contains Asbestos
If testing confirms asbestos is present, homeowners generally have two options: hiring a licensed asbestos abatement professional to safely remove the material, or covering the ceiling entirely without disturbing the existing texture. Attempting to remove asbestos-containing popcorn ceiling without proper certification and equipment is not recommended, as it significantly increases health risks for both occupants and workers. Many regions also have specific legal requirements governing how asbestos-containing materials must be handled and disposed of.
Covering Popcorn Ceiling Without Removal
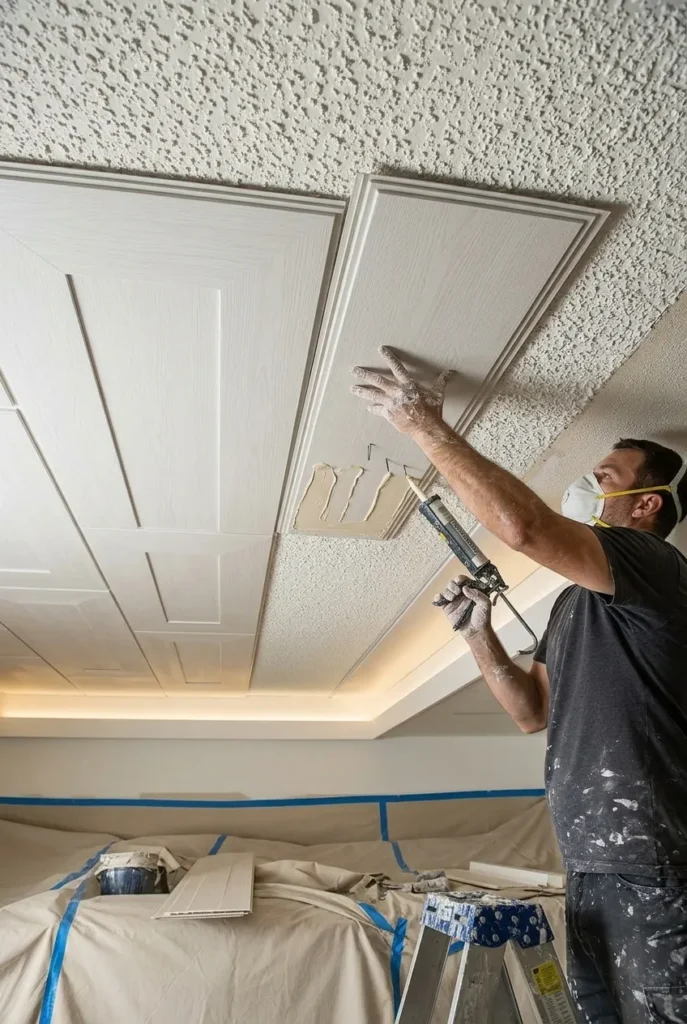
For homeowners who want to update the look of their ceiling without the mess or risk associated with removal, particularly in cases involving asbestos, covering the existing texture is a practical and often more affordable alternative. Several materials and methods can be used to create a smooth or decoratively finished surface directly over the popcorn texture.
Installing New Drywall Over Popcorn Ceiling
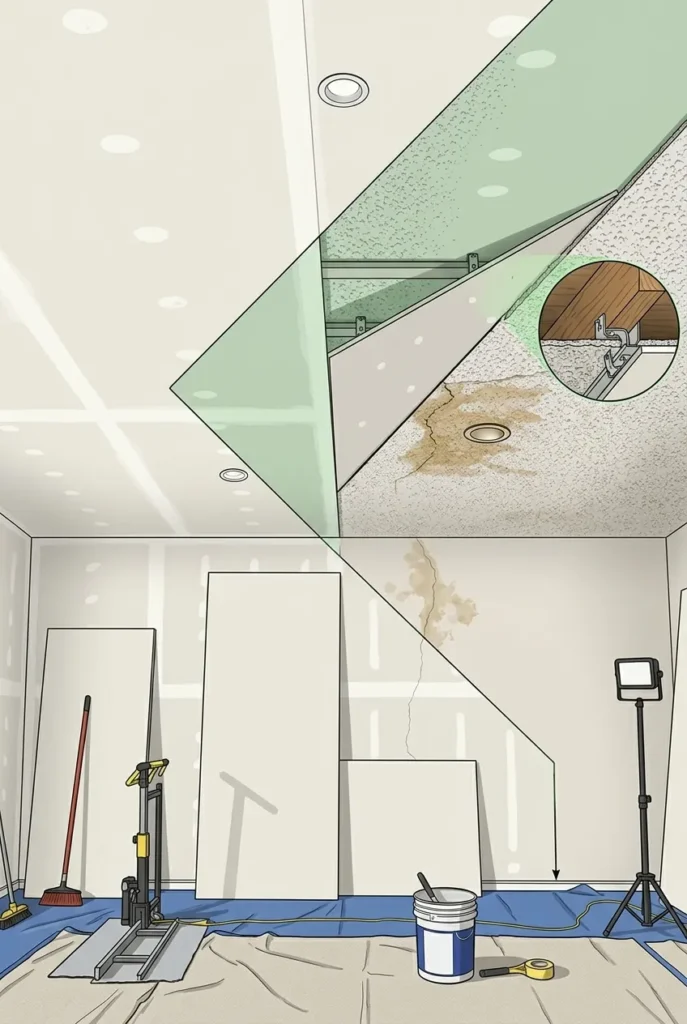
Installing a new layer of thin drywall directly over the existing popcorn ceiling is one of the most popular covering methods, as it creates a completely smooth, paintable surface without disturbing the texture underneath. This method typically uses quarter-inch or three-eighths-inch drywall panels to minimize the added weight and height reduction in the room. Proper attachment into the ceiling joists is essential to ensure the new layer remains secure over time.
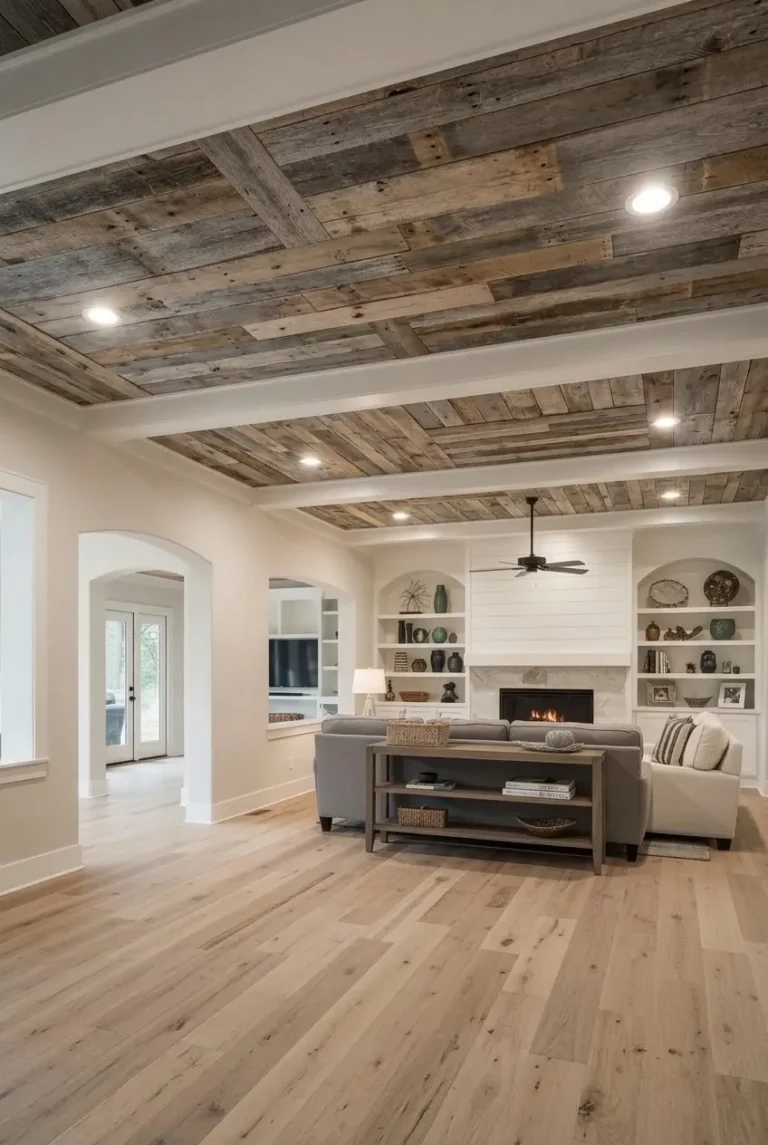
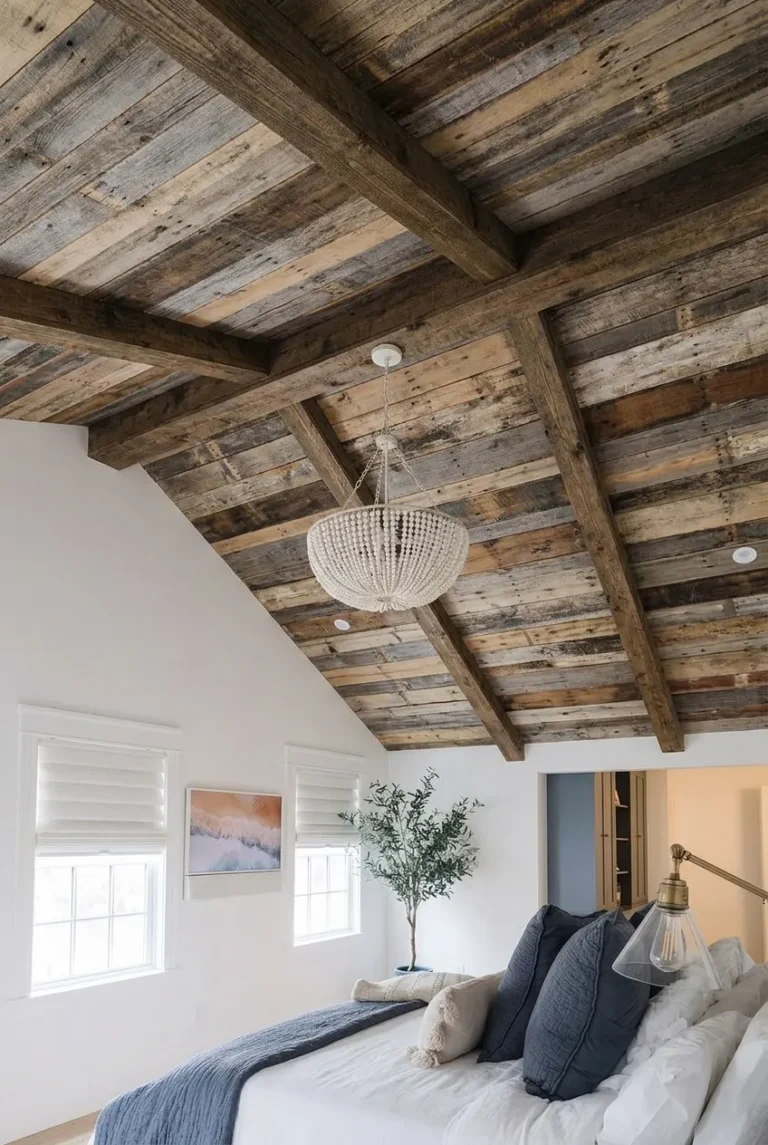
Installing Ceiling Planks or Panels
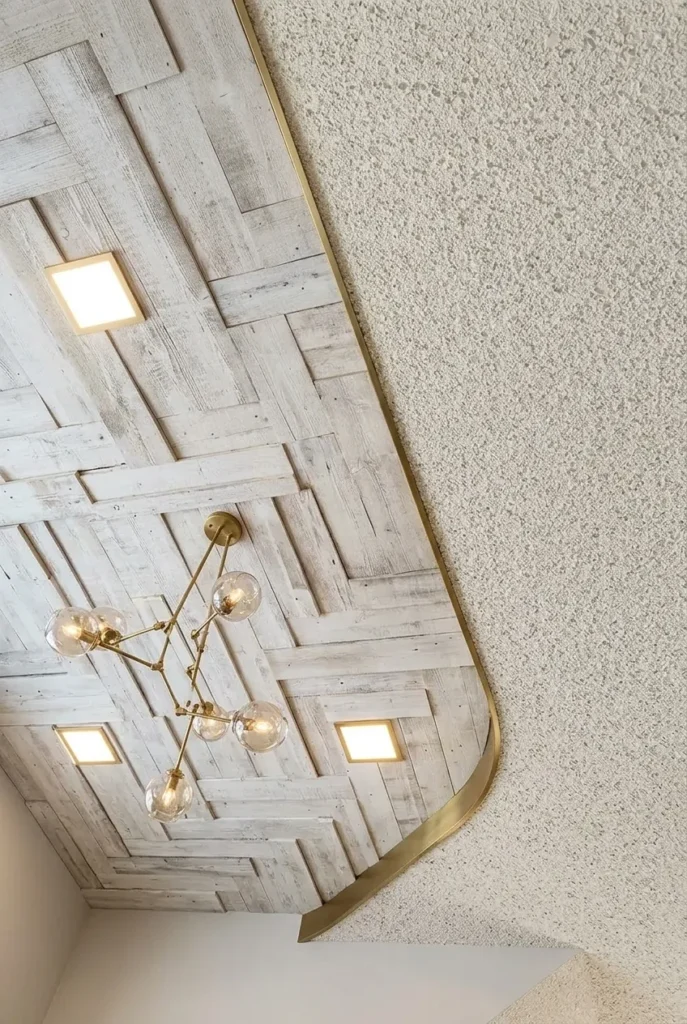
Wood, PVC, or composite ceiling planks can be installed directly over popcorn texture, offering a decorative upgrade that adds warmth or architectural interest rather than simply achieving a flat, neutral surface. These planks are typically lightweight and can be installed with adhesive, nails, or a track system, depending on the specific product chosen. This method works particularly well for homeowners wanting a more stylistic ceiling upgrade rather than a plain, smooth finish.
Using Skim Coating
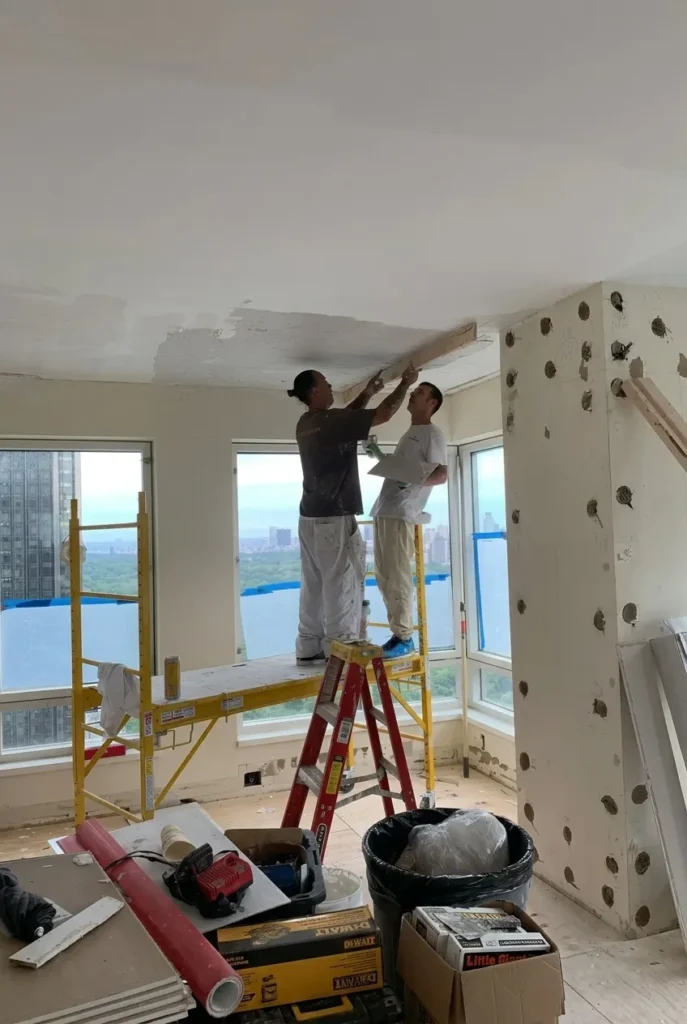
Skim coating involves applying a thin layer of joint compound directly over the popcorn texture, then sanding it smooth once dry to create a flat, paint-ready surface. This method requires significant skill and patience, as achieving an even, professional-looking finish often takes multiple thin coats and careful sanding between applications. Skim coating is generally more labor-intensive than other covering methods but avoids adding significant thickness or weight to the ceiling.
Beadboard Ceiling Installation
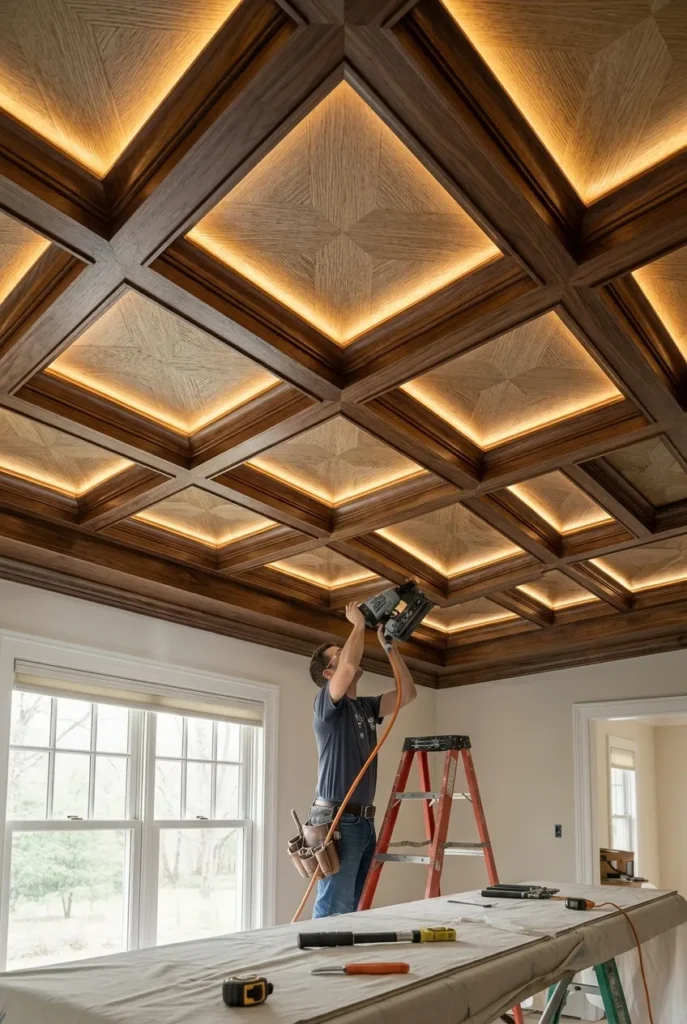
Beadboard panels installed over a popcorn ceiling add classic, cottage-inspired charm while completely concealing the textured surface underneath. This material is lightweight, relatively affordable, and available in both traditional wood and more moisture-resistant PVC versions. Beadboard ceilings work particularly well in bathrooms, kitchens, and porches, where the material’s classic look complements a variety of home styles.
Drop Ceiling or Suspended Ceiling
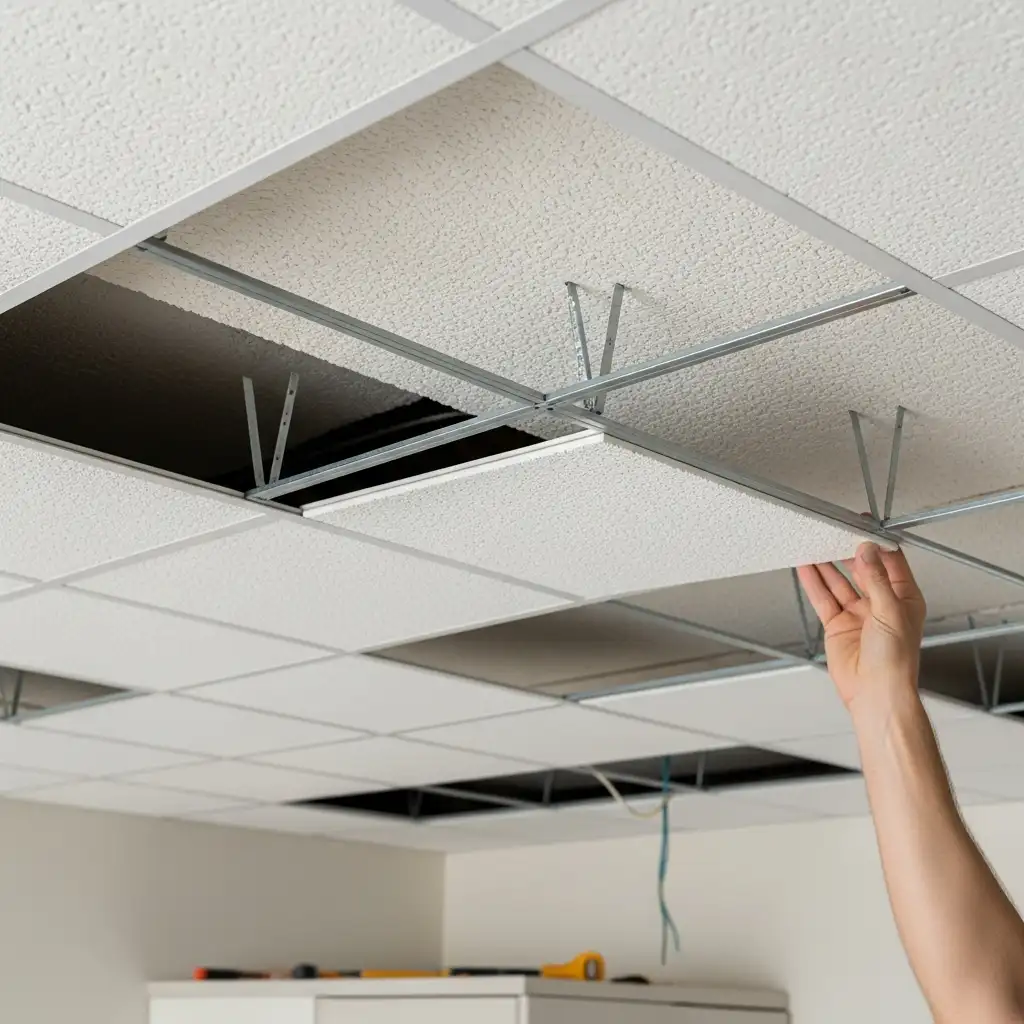
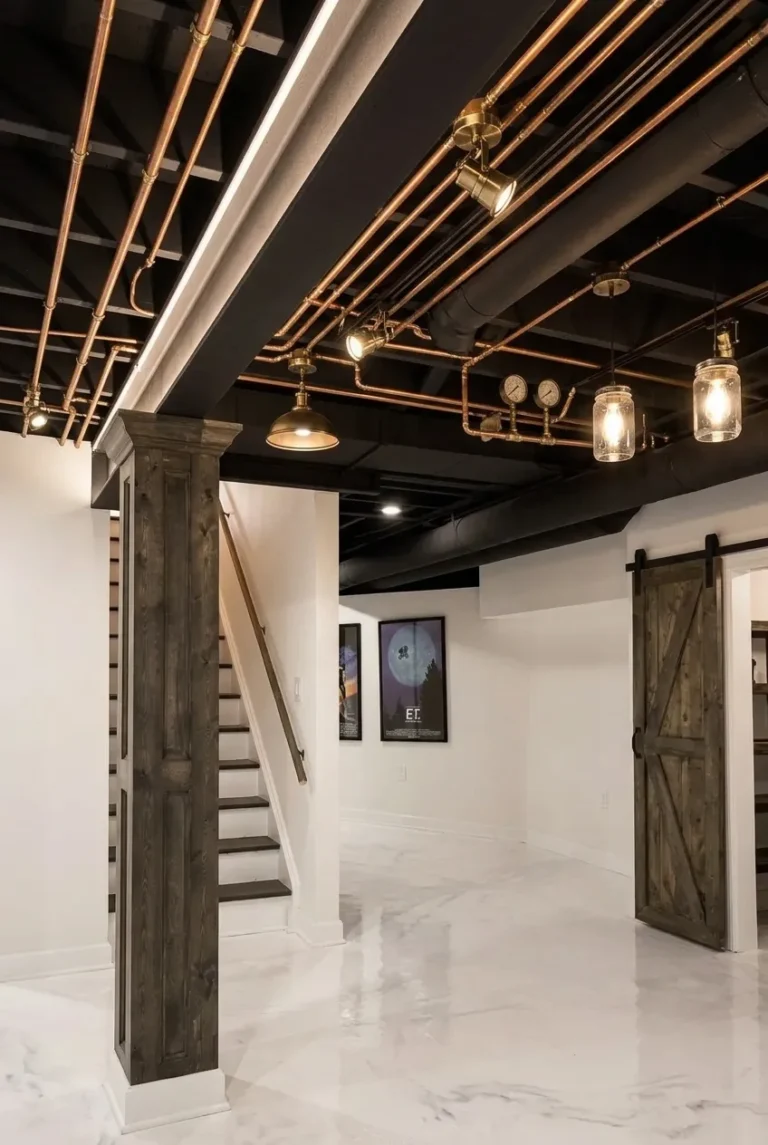
A drop ceiling, also known as a suspended ceiling, involves installing a metal grid system below the existing popcorn ceiling, into which lightweight tiles are placed to create a new, finished surface. This method is particularly useful for basements or utility spaces, as it also provides easy access to wiring, plumbing, or ductwork above the tiles. While less common in main living areas due to the reduced ceiling height, modern drop ceiling tiles offer more stylish options than in the past.
Stretch Ceiling Systems
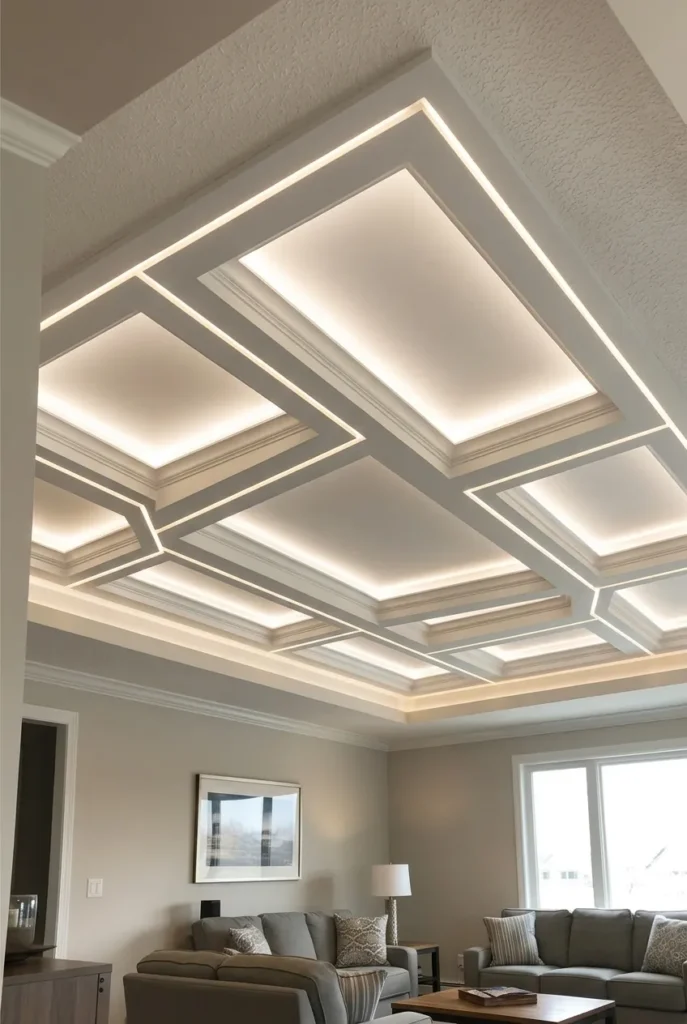
Stretch ceiling systems use a track installed around the perimeter of the room, onto which a flexible fabric or PVC membrane is stretched tightly to create a smooth, seamless ceiling surface. This method is relatively quick to install, doesn’t require significant demolition, and can even incorporate integrated lighting elements within the design. While less common than other covering methods, stretch ceilings offer a modern, high-end look with minimal disruption to the existing ceiling structure.
Popcorn Ceiling Removal: Step-by-Step Guide
For homeowners who have confirmed their ceiling is asbestos-free and want to permanently remove the popcorn texture, a methodical, step-by-step approach helps ensure the project goes smoothly and results in a properly finished surface.
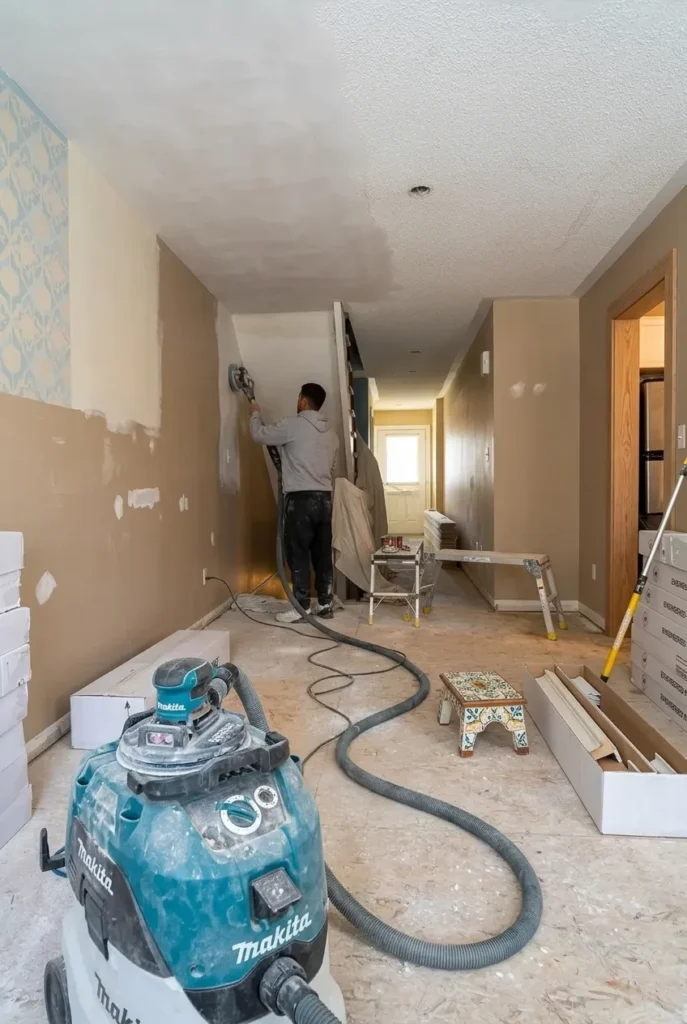
Tools and Materials Needed
- Plastic sheeting to protect floors, furniture, and walls.
- A pump garden sprayer filled with warm water.
- A wide, flexible drywall taping knife or ceiling scraper.
- Safety goggles, a dust mask, and protective clothing.
- Joint compound, sandpaper, and a primer for repairs afterward.
Successfully removing a popcorn ceiling requires a specific set of tools designed to handle the wet scraping process without damaging the underlying drywall. Having all necessary materials prepared before starting helps the project move efficiently and reduces the mess involved in this inherently messy process.
Step 1: Prepare the Room
- Remove furniture or cover it completely with plastic sheeting.
- Protect flooring with drop cloths or plastic covering.
- Cover wall sections near the ceiling to prevent overspray damage.
- Turn off electricity to any ceiling-mounted fixtures.
- Remove or cover light fixtures and smoke detectors as needed.
Before beginning removal, the entire room should be cleared of furniture or covered thoroughly with plastic sheeting, since the wet scraping process creates significant mess that can damage flooring and belongings. Covering walls near the ceiling line and turning off electricity to any ceiling fixtures also helps protect the space and ensure safety throughout the process. Taking the time to properly prepare the room upfront saves considerable cleanup effort later.
Step 2: Test a Small Area
Before committing to the full removal process, testing a small, inconspicuous section of the ceiling helps confirm how easily the texture will scrape off and whether the underlying surface can handle the wet scraping method. This test area also provides an opportunity to practice the technique and estimate how much time the full project may take. If the texture doesn’t loosen easily with water, additional soaking time or a different approach may be needed.
Step 3: Spray and Soak the Ceiling
Using a pump garden sprayer filled with warm water, lightly mist a small section of the ceiling and allow it to soak for approximately fifteen minutes, which softens the texture and makes scraping significantly easier. Working in small sections prevents the water from drying out before scraping begins, which would otherwise make the process more difficult. Avoid oversaturating the ceiling, as excess water can damage the drywall underneath.
Step 4: Scrape Off the Texture
Once the ceiling section has softened, use a wide, flexible taping knife or dedicated ceiling scraper to gently remove the popcorn texture, working carefully to avoid gouging the drywall surface underneath. Holding the scraper at a slight angle and using steady, even pressure typically produces the best results with minimal damage. A container or bag attached to the scraper can help catch falling debris and reduce overall mess.
Step 5: Wipe Down the Ceiling
After scraping, the ceiling should be wiped down with a damp sponge or cloth to remove any remaining texture residue and reveal the true condition of the drywall underneath. This step also helps identify any areas that may need additional scraping or repair before moving on to the finishing stages. Allowing the ceiling to fully dry before proceeding is important to avoid trapping moisture beneath any repair materials.
Step 6: Repair and Smooth the Ceiling
Once the ceiling is dry, any gouges, seams, or imperfections should be repaired using joint compound, applied in thin layers and sanded smooth between coats. This step often takes the most time and patience, as achieving a flawless, paint-ready surface typically requires multiple rounds of compound application and sanding. A bright work light angled across the ceiling can help reveal imperfections that might otherwise be missed under normal lighting.
Step 7: Prime and Paint
Once the ceiling surface is smooth and fully repaired, applying a quality primer helps ensure even paint absorption and better long-term durability of the finished ceiling. A ceiling-specific paint, typically in a flat or matte finish, helps minimize the appearance of any remaining minor imperfections while providing a clean, updated look. Allowing proper drying time between primer and paint coats ensures the best possible final result.
How to Paint Popcorn Ceiling Without Removal
For homeowners who aren’t ready to remove or cover their popcorn ceiling, simply painting over the existing texture offers a more affordable way to refresh its appearance while addressing yellowing or discoloration over time.
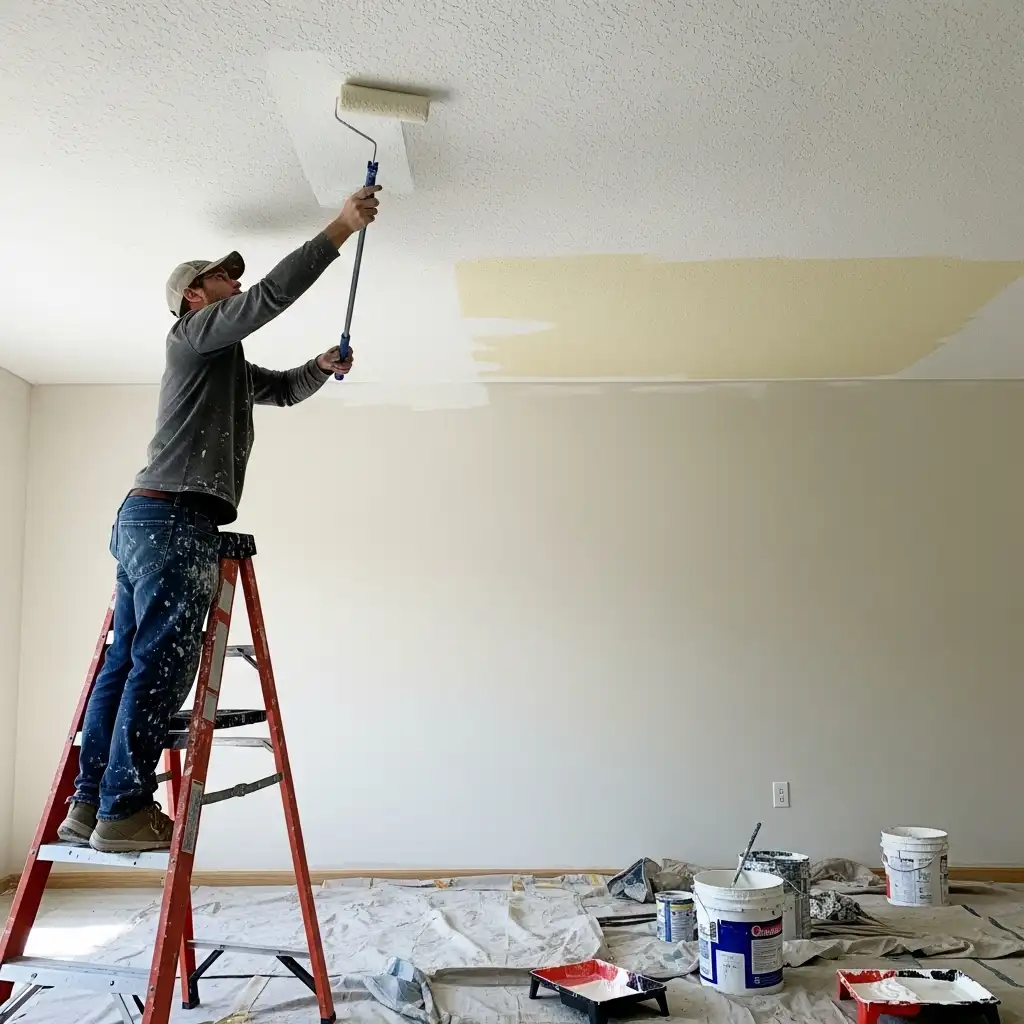
Challenges of Painting Popcorn Ceilings
Painting a popcorn ceiling presents unique challenges compared to a flat surface, primarily due to the texture’s tendency to absorb significantly more paint and its susceptibility to damage from rollers pressed too firmly against the surface. The irregular, bumpy texture also makes it more difficult to achieve fully even coverage, often requiring multiple coats to avoid a patchy appearance. Additionally, the texture can trap dust and debris that should be addressed before painting begins.
Materials Needed
Painting a popcorn ceiling successfully requires specific tools designed to work with the textured surface without causing damage or excessive paint waste. Having the right materials on hand before starting helps the project proceed smoothly and produces a more professional final result.
Steps to Paint Popcorn Ceiling
Successfully painting a popcorn ceiling starts with thoroughly dusting the surface, followed by applying paint using a light touch to avoid dislodging the texture during rolling. Working in small sections and maintaining a wet edge helps prevent visible lap marks once the paint dries. A minimum of two coats is generally recommended to achieve even, opaque coverage across the entire textured surface.
Spray Painting Popcorn Ceilings
Using a paint sprayer instead of a roller can significantly reduce the risk of damaging the popcorn texture while also providing more even coverage across the irregular surface. This method requires thorough masking of walls, floors, and furniture, as overspray can travel further than expected during application. While spray painting often produces a smoother, more professional-looking result, it does require more preparation time and equipment than traditional rolling.
Alternative Ceiling Ideas Beyond Popcorn Removal
Once a popcorn ceiling has been removed or covered, many homeowners choose to take the opportunity to add architectural interest rather than settling for a plain, flat surface. These alternative ceiling styles offer a range of options depending on budget, room function, and desired aesthetic.
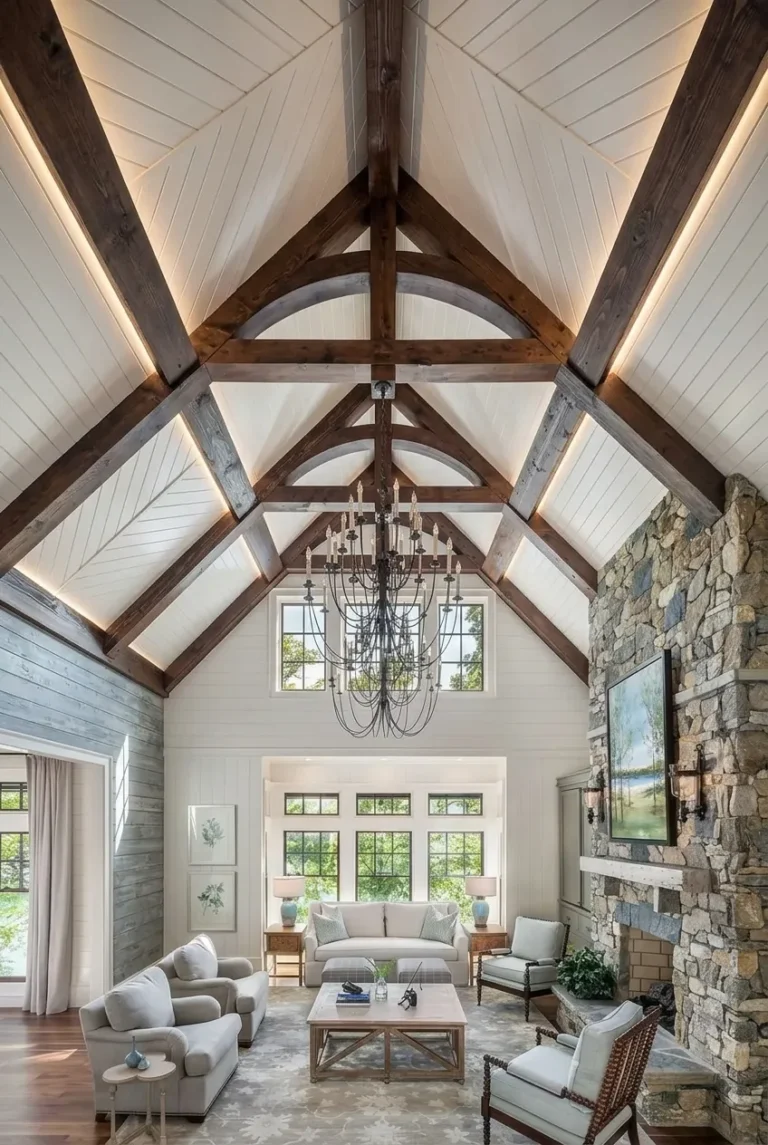
Exposed Beam Ceilings
Exposed beam ceilings add rustic, architectural character by either revealing original structural beams or installing faux beams for decorative purposes. This style works particularly well in living rooms, kitchens, and vaulted spaces, adding warmth and a sense of craftsmanship to the room. Beams can be stained to match existing wood tones or painted to contrast with a lighter ceiling color.
Coffered Ceilings
Coffered ceilings feature a grid pattern of recessed panels, created using decorative beams or molding, that adds a sense of formality and architectural depth to a room. This style is often found in dining rooms, formal living rooms, and libraries, where the added detail complements more traditional interior design. While more labor-intensive to install than a flat ceiling, coffered designs significantly elevate a room’s overall visual impact.
Tray Ceilings
Tray ceilings feature a recessed central section, typically framed by molding, that adds dimension and a sense of height to a room without requiring major structural changes. This style is especially popular in bedrooms and dining rooms, where the added depth creates a subtle but noticeable design upgrade. Incorporating rope lighting or a contrasting paint color within the recessed section further enhances the visual effect.
Cathedral Ceilings
Cathedral ceilings, characterized by their steep, symmetrical slope following the roofline, create a dramatic sense of openness and volume within a room. This style works best in homes with the necessary roof structure to accommodate the added height, often found in great rooms, entryways, or primary bedrooms. Cathedral ceilings pair particularly well with large windows, which help balance the increased vertical space with natural light.
Cost Comparison: Removal vs. Covering vs. Painting
Budget is often one of the deciding factors when choosing between removing, covering, or simply painting a popcorn ceiling, as each method carries a significantly different price range depending on room size, material choice, and whether the work is completed as a DIY project or hired out to professionals.
DIY Popcorn Ceiling Removal Costs
DIY popcorn ceiling removal is generally the most affordable option for asbestos-free ceilings, with costs primarily limited to tools, protective materials, and repair supplies like joint compound and primer. Most homeowners can complete this project for a relatively modest investment, though it requires significant time and physical effort compared to other methods. The overall cost will vary based on room size and how much repair work is needed after scraping.
Professional Popcorn Ceiling Removal Costs
Hiring a professional for popcorn ceiling removal costs considerably more than DIY methods but saves significant time and typically results in a more polished, evenly finished surface. Professional pricing is usually calculated per square foot and can vary based on regional labor rates, ceiling condition, and the extent of repair work required afterward. If asbestos abatement is needed, professional costs increase substantially due to specialized equipment and safety requirements.
DIY Popcorn Ceiling Painting Costs
Painting a popcorn ceiling yourself is typically one of the most affordable ways to refresh its appearance, with costs limited mainly to paint, primer, rollers, and basic protective supplies. This method requires far less time and physical effort than full removal, making it an accessible option for most homeowners regardless of experience level. Costs will vary depending on room size and the number of coats needed for even coverage.
Professional Painting Costs
Hiring a professional painter for a popcorn ceiling adds convenience and often results in more even, professional-quality coverage, though it costs more than a DIY approach. Pricing is generally based on square footage and may factor in additional charges for higher ceilings, extensive prep work, or spray application methods. This option works well for homeowners who want a polished result without investing the time and effort themselves.
Covering Costs
Covering costs vary widely depending on the method chosen, with simple ceiling planks or beadboard generally falling on the more affordable end, while new drywall installation or stretch ceiling systems tend to cost significantly more. Material quality, room size, and whether installation is DIY or professional all play a role in the final project cost. Covering methods are often a middle-ground option, more expensive than painting but typically less costly than full asbestos abatement and removal.
Estimated Cost Comparison Table
| Method | Cost Per Square Foot | Average Room (144 sq ft) |
|---|---|---|
| DIY Popcorn Ceiling Removal | $0.20 – $0.75 | $30 – $110 |
| Professional Popcorn Ceiling Removal | $1.50 – $3.50 | $215 – $500 |
| Professional Removal with Asbestos Abatement | $4.50 – $10.00 | $650 – $1,450 |
| DIY Painting Over Popcorn Ceiling | $0.15 – $0.50 | $20 – $70 |
| Professional Painting Over Popcorn Ceiling | $1.00 – $2.50 | $145 – $360 |
| Covering with Ceiling Planks or Beadboard | $2.00 – $5.00 | $290 – $720 |
| Covering with New Drywall | $3.00 – $7.00 | $430 – $1,000 |
| Covering with Stretch Ceiling System | $8.00 – $15.00 | $1,150 – $2,150 |
Costs are approximate national averages and will vary based on region, contractor rates, ceiling condition, and material quality. Requesting local quotes is recommended for an accurate project estimate.
Pros and Cons of Each Method
Choosing the right approach for updating a popcorn ceiling depends on balancing budget, time, safety considerations, and desired final appearance. Reviewing the advantages and drawbacks of each method side by side helps homeowners make a more informed decision for their specific situation.
Popcorn Ceiling Removal
- Provides the most complete, permanent ceiling transformation.
- Allows for full customization of the finished ceiling surface.
- Requires significant time, labor, and cleanup effort.
- Carries serious health risks if asbestos is present and mishandled.
- Best suited for long-term homeowners seeking a full update.
Removal offers the most complete, permanent solution, resulting in a fully smooth ceiling that can be finished however the homeowner chooses, from paint to more elaborate architectural details. However, this method is also the most labor-intensive and messy option, and carries significant health risks and legal considerations if the ceiling contains asbestos. Removal is generally best suited for homeowners planning to stay in their home long-term and wanting a completely updated look.
Painting Popcorn Ceiling
- Fastest, most affordable option for refreshing ceiling appearance.
- Minimal mess and disruption compared to removal or covering.
- Does not resolve the underlying texture or cleaning challenges.
- Well-suited for renters or budget-conscious homeowners.
- Not a recommended standalone solution for asbestos concerns.
Painting is by far the fastest, most affordable, and least invasive method for refreshing a popcorn ceiling, making it an excellent option for renters, budget-conscious homeowners, or those unsure about a permanent change. However, this method doesn’t address the underlying texture, meaning the ceiling will still be difficult to clean and prone to the same maintenance challenges as before. Painting also isn’t recommended as a way to seal in asbestos-containing texture without proper professional guidance.
Covering Popcorn Ceiling
Covering offers a strong middle-ground solution, providing a smooth or decoratively updated surface without the mess or asbestos risk associated with scraping, though it does slightly reduce ceiling height. This method also tends to cost more than simply painting, since it involves new materials and installation labor. Covering is particularly well-suited for ceilings confirmed to contain asbestos, since it avoids disturbing the material altogether.
When to Hire Professionals vs. DIY
Deciding whether to tackle a popcorn ceiling project yourself or hire a professional depends on factors like safety concerns, budget, available time, and personal comfort with home improvement projects.
DIY-Friendly Situations
- Best suited for confirmed asbestos-free ceilings.
- Smaller rooms and painting-only projects are more manageable.
- Prior home improvement experience improves project outcomes.
- Testing a small area first helps build confidence and skill.
- Requires realistic time expectations and physical stamina.
DIY approaches work well for confirmed asbestos-free ceilings, particularly for smaller rooms or projects focused solely on painting rather than full removal. Homeowners with some prior experience in home improvement projects and access to the right tools can often achieve satisfactory results without professional help. Taking on a small test area first can help build confidence before committing to a larger DIY projects.
Hire Professionals When
Professional help is strongly recommended whenever asbestos is confirmed or suspected, as well as for large-scale projects, high or vaulted ceilings, or situations requiring extensive drywall repair beyond basic patching. Homeowners short on time or physical ability to complete overhead work should also consider hiring professionals to ensure both safety and quality results. When in doubt about a ceiling’s condition or content, consulting a professional before starting any project is always the safer choice.
Tips for Successful Popcorn Ceiling Projects
- Always confirm asbestos status before beginning any removal work.
- Thoroughly protect floors, walls, and furniture before starting.
- Work in manageable sections rather than rushing the entire ceiling at once.
- Allow adequate drying time between repair, primer, and paint stages.
- Use proper safety equipment, including eye protection and a dust mask.
Regardless of which method is chosen, a few general tips can help ensure a popcorn ceiling project goes smoothly and produces a professional-looking final result. Taking time to properly prepare the space, working patiently through each step, and not rushing the drying or repair stages all contribute significantly to a successful outcome.
Common Mistakes to Avoid
- Skipping asbestos testing before beginning removal work.
- Failing to adequately protect floors, walls, and furniture beforehand.
- Rushing the scraping process, resulting in gouged or damaged drywall.
- Applying paint or primer before the ceiling is fully dry and repaired.
- Underestimating the time, mess, and physical effort required overall.
Several common mistakes can compromise the results of a popcorn ceiling project, often stemming from rushed preparation, skipped safety steps, or unrealistic expectations about the time and effort involved. Being aware of these pitfalls in advance helps homeowners avoid costly errors and achieve a more successful final outcome.
Conclusion
Updating a popcorn ceiling, whether through complete removal, a practical covering solution, or a simple coat of paint, can dramatically transform the look and feel of any room in the home. The right choice ultimately depends on factors like budget, timeline, asbestos considerations, and how significant of a design change you’re hoping to achieve. By carefully weighing the pros and cons of each method outlined in this guide, homeowners can confidently move forward with a popcorn ceiling project that fits their specific needs, resulting in a safer, more modern, and more visually appealing space for years to come.