Everything You Need to Know About Shiplap Ceilings for Every Home Style
Shiplap ceilings have become one of the most popular architectural features in modern and traditional homes alike, adding texture, dimension, and a sense of craftsmanship to any room. Whether you’re renovating a farmhouse kitchen, finishing a coastal getaway, or simply looking to hide an outdated popcorn ceiling, shiplap offers a versatile solution that works with almost any design style. This guide answers the most common questions homeowners ask about planning, installing, finishing, and maintaining a shiplap ceiling, so you can decide if it’s the right choice for your space.
How does shiplap differ from tongue-and-groove for ceilings?
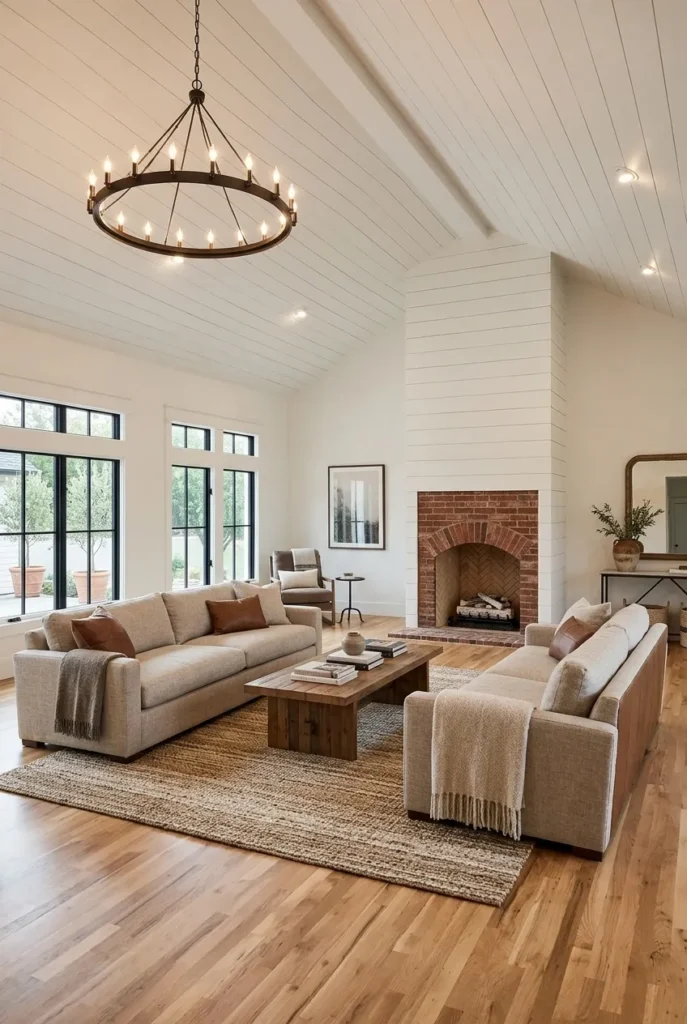
Shiplap and tongue-and-groove are both wood paneling styles, but they connect in different ways and create different visual effects on a ceiling. Shiplap boards have a rabbet cut along the top and bottom edges, allowing them to overlap slightly when installed, which creates a small, visible reveal line between each board. Tongue-and-groove boards interlock with a protruding tongue on one edge and a matching groove on the other, resulting in a flush, seamless surface with little to no gap between boards.
- Shiplap creates a more pronounced horizontal or vertical line pattern due to its overlapping edges.
- Tongue-and-groove offers a tighter, more uniform surface often used for a cleaner finish.
- Shiplap is generally easier and faster to install because it doesn’t require precise interlocking.
- Tongue-and-groove can better resist gaps from wood movement over time.
- Both styles can be painted or stained, though shiplap’s reveal lines tend to show more shadow and depth.
What architectural styles are best suited for a shiplap ceiling?
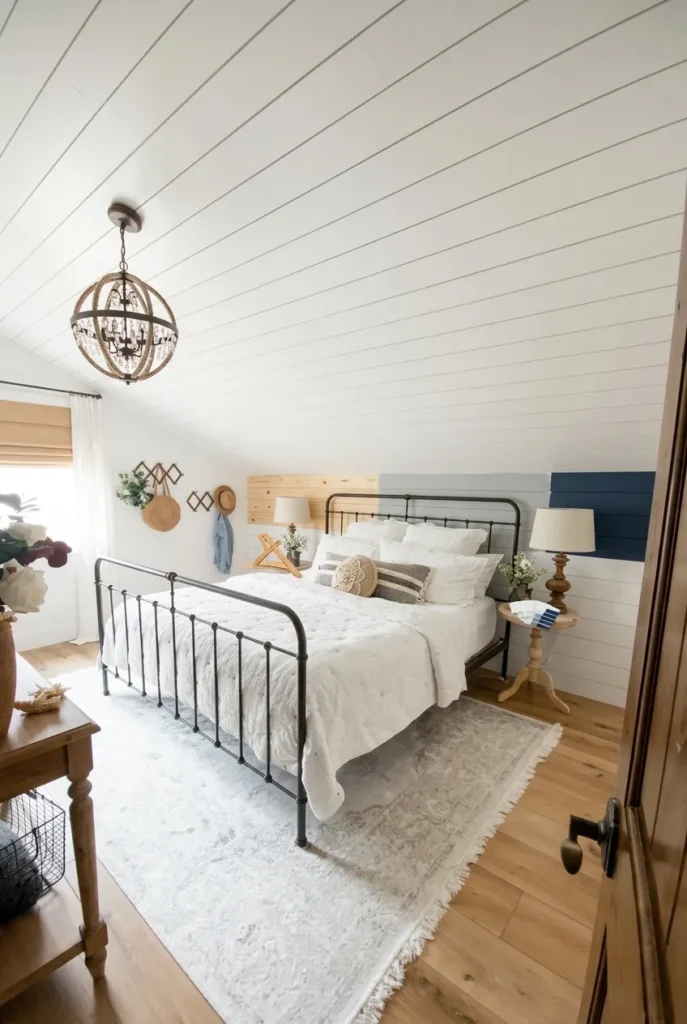
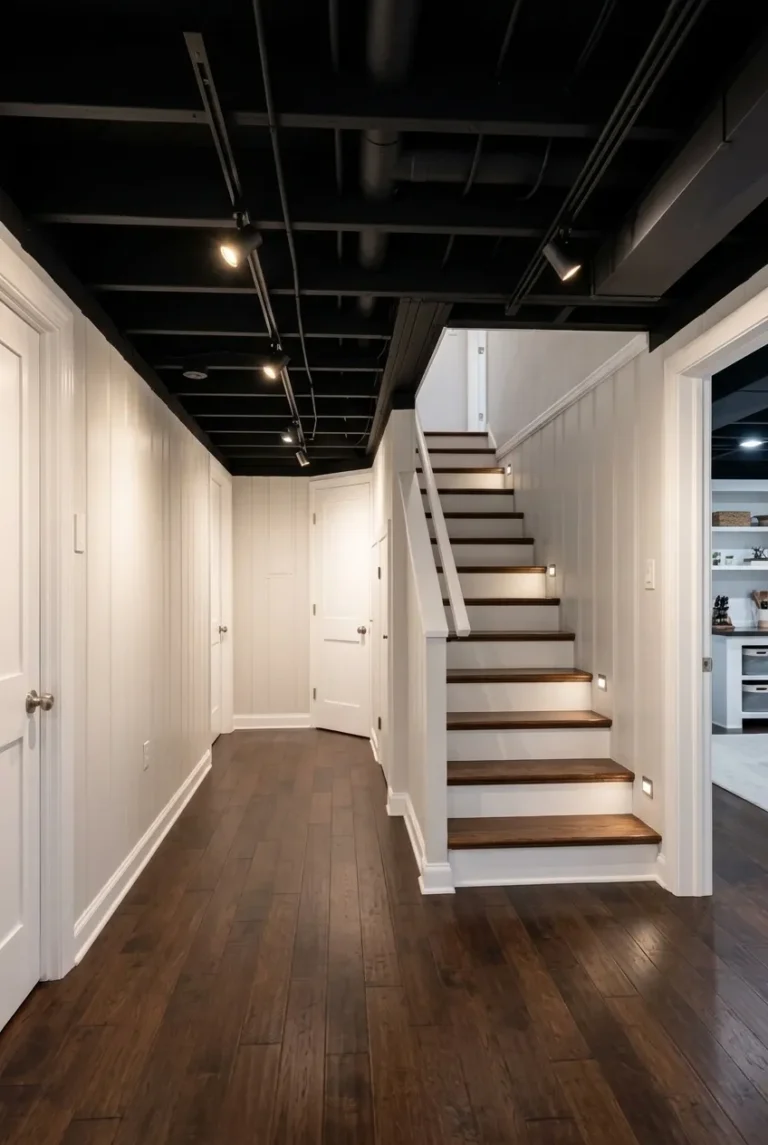
Shiplap ceilings work exceptionally well in farmhouse, coastal, cottage, and transitional style homes, where the texture and simplicity of the boards complement other natural materials. It also pairs surprisingly well with modern and industrial interiors when installed in dark tones or paired with clean, minimal furnishings. The key is matching the board width, spacing, and finish to the overall character of the room.
- Farmhouse and cottage homes benefit from wide, painted white shiplap boards.
- Coastal and beach house interiors often use lighter, whitewashed or natural wood finishes.
- Modern and industrial spaces can use narrow, dark-stained or black-painted shiplap for contrast.
- Traditional homes may incorporate shiplap alongside crown molding for a more formal look.
- Rustic cabins and mountain homes often leave shiplap unfinished or lightly stained to show the wood grain.
Should shiplap run parallel or perpendicular to the joists?
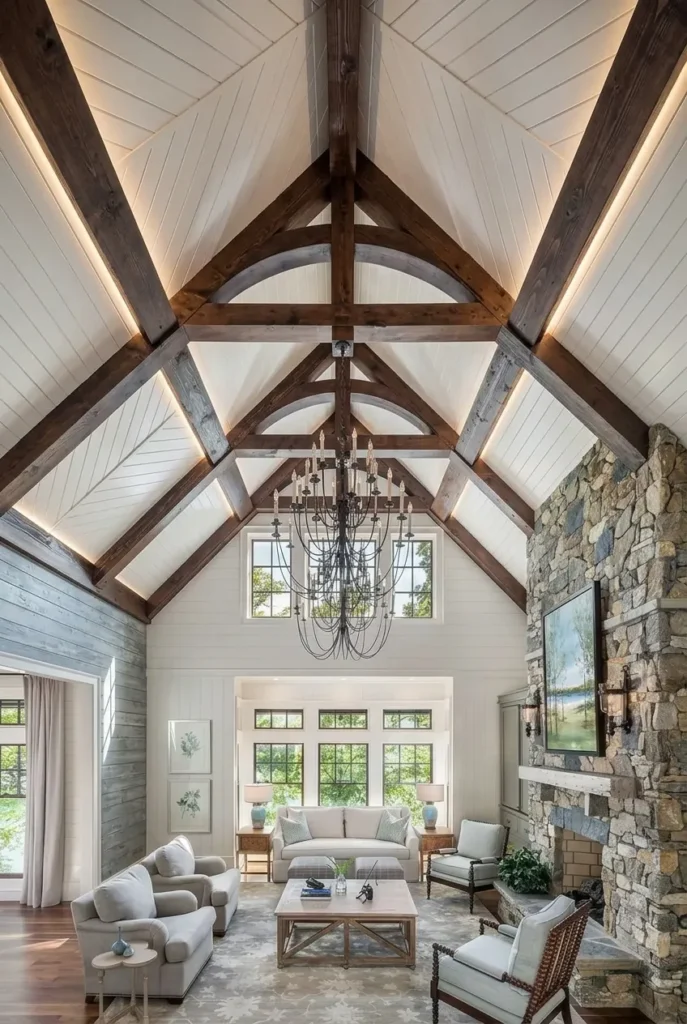
The direction shiplap runs on a ceiling depends on both structural considerations and the visual effect you want to achieve. Running boards perpendicular to the joists is generally easier to secure properly, since each board crosses multiple joists and provides more consistent nailing points. Running boards parallel to the joists can create a longer, more elongated look in narrow rooms, but it typically requires additional blocking between joists for secure attachment.
- Perpendicular installation offers more secure attachment across multiple joists.
- Parallel installation can visually elongate a narrow hallway or room.
- Blocking may be required between joists when running boards parallel.
- Room shape and ceiling height should guide the final direction chosen.
- Perpendicular runs are usually the standard recommendation for most residential ceilings.
How to use shiplap on a sloped or vaulted ceiling?
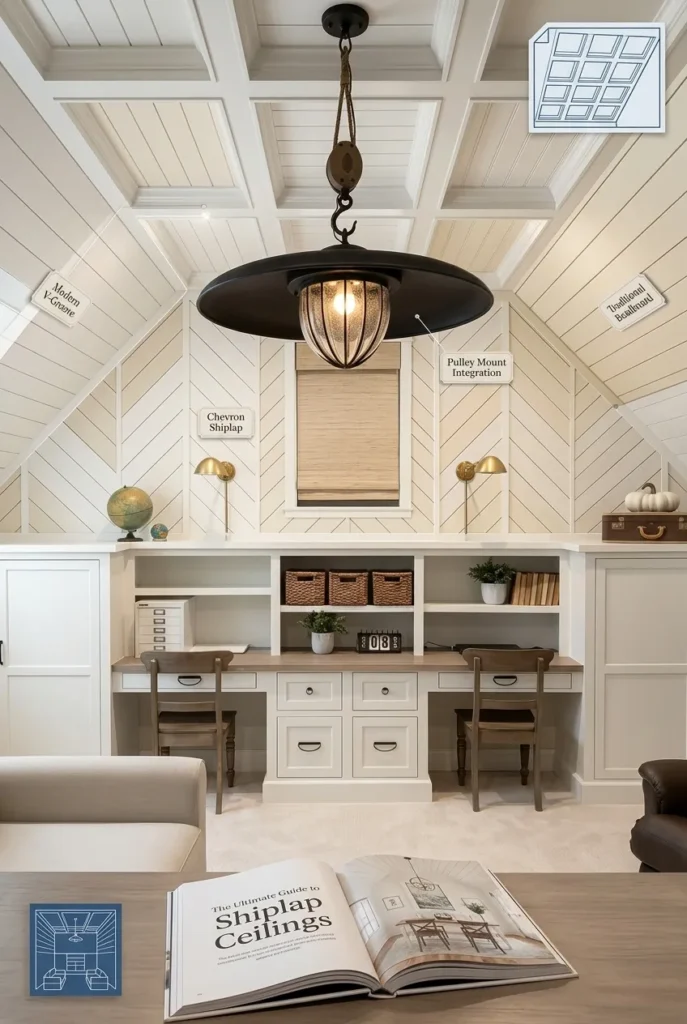
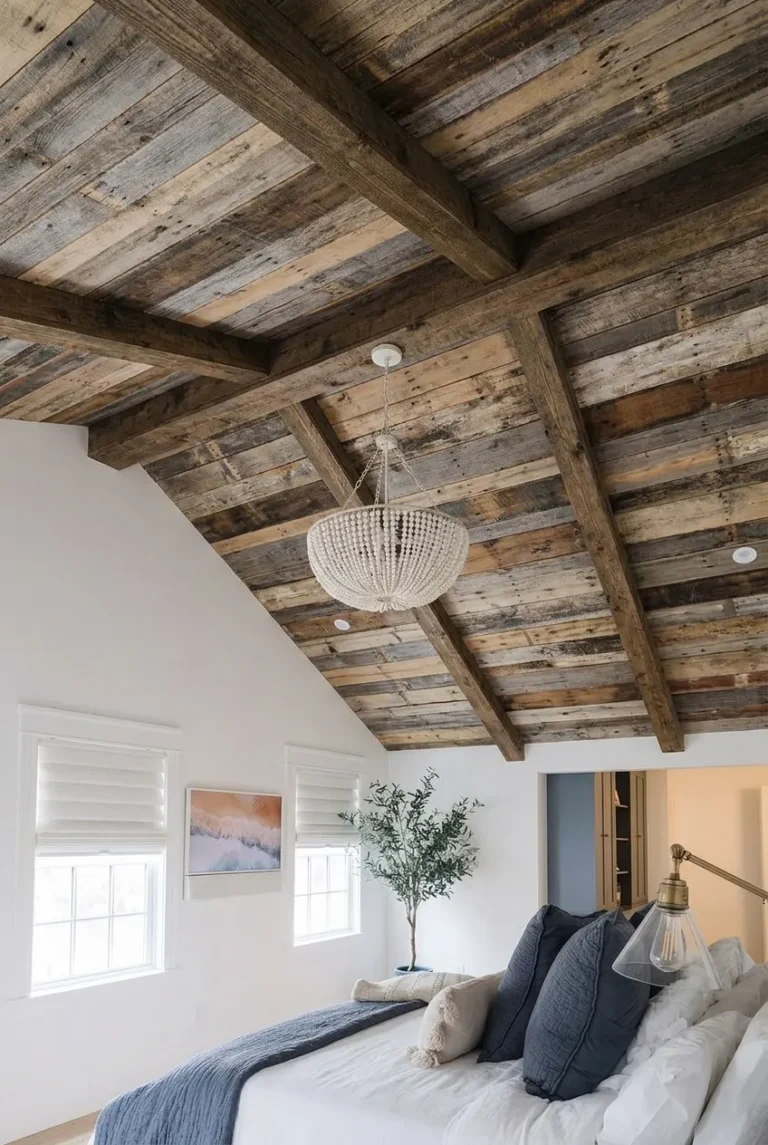
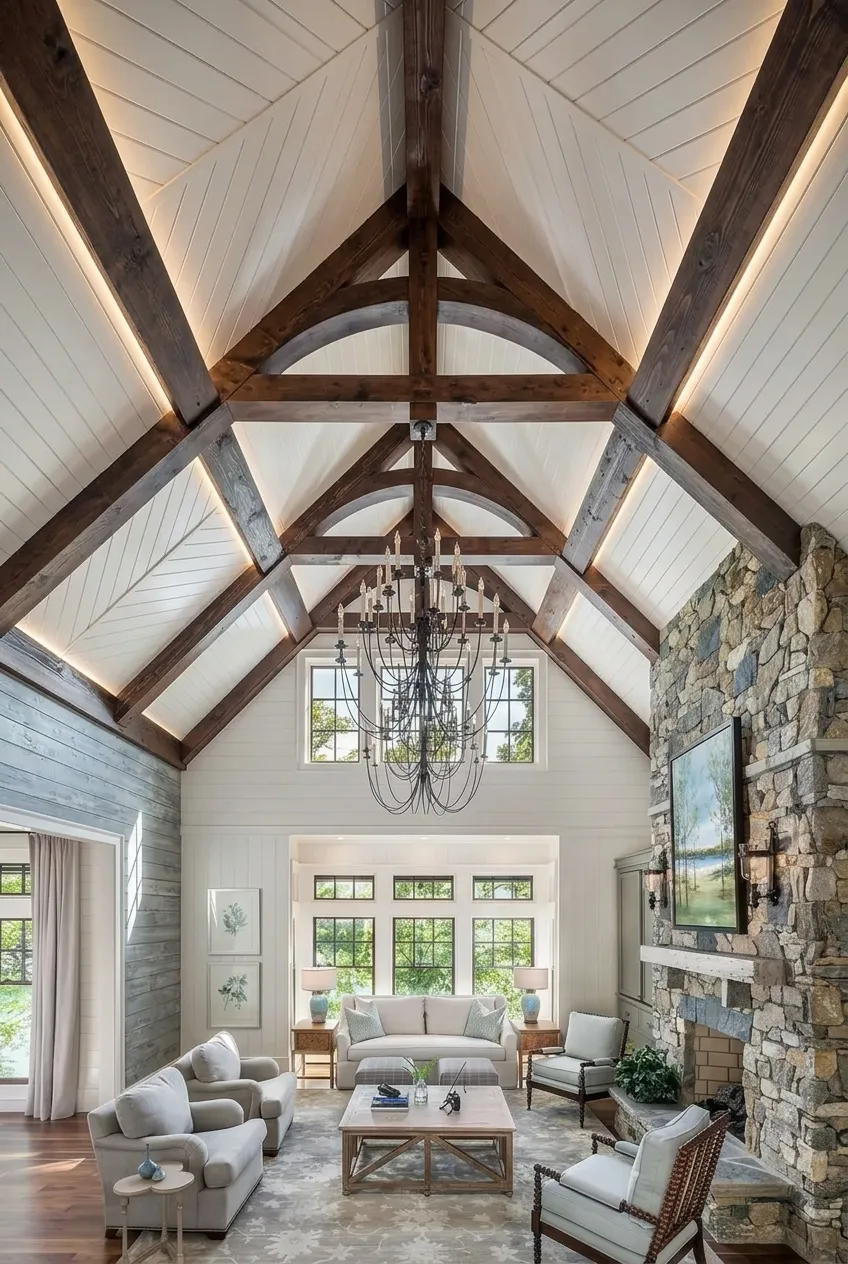
Sloped and vaulted ceilings are one of the most dramatic places to install shiplap, since the angled surface naturally draws the eye upward and emphasizes the height of the room. Boards are typically installed following the slope of the roofline, which requires careful measuring and angled cuts where the ceiling meets any flat sections or ridge beams. Proper support and blocking are especially important on vaulted ceilings due to the added weight and the angle of installation.
- Boards should follow the natural slope of the roofline for a cohesive look.
- Angled cuts are needed where the ceiling transitions from sloped to flat.
- Additional blocking helps support the shiplap securely on steep angles.
- A ridge beam or ceiling peak often requires a mitered or scribed joint.
- Lighter finishes can help prevent a vaulted shiplap ceiling from feeling too heavy or dark.
Should I paint shiplap white or leave it natural wood?
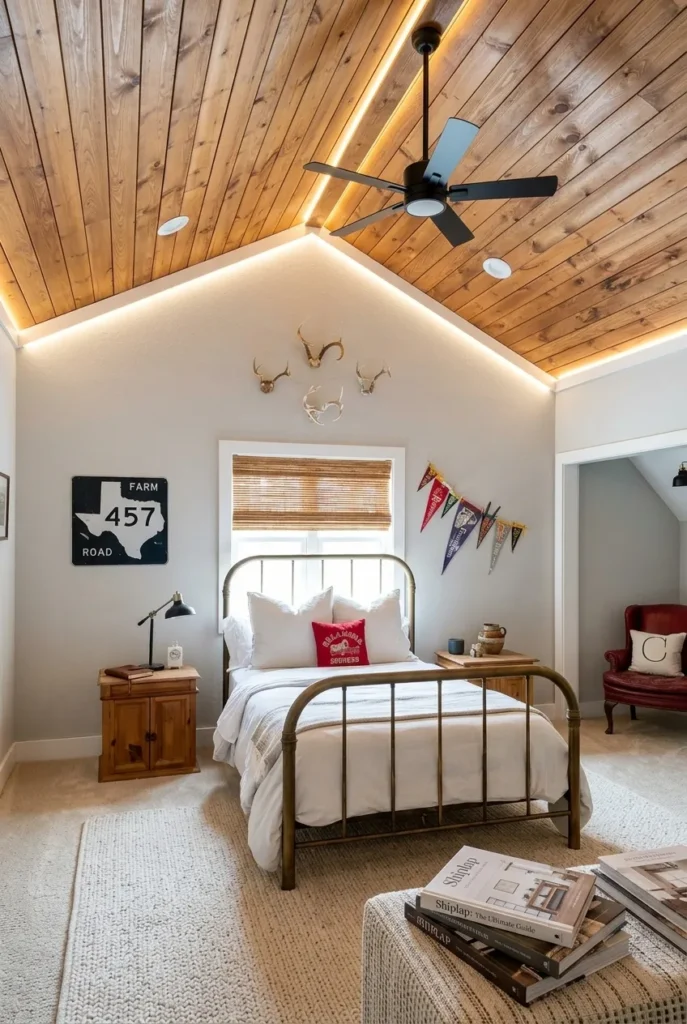
The choice between painted white shiplap and natural wood largely comes down to the mood you want to create and the style of the rest of the home. White shiplap tends to brighten a room, make ceilings feel taller, and works well in farmhouse, coastal, and modern interiors. Natural or stained wood shiplap adds warmth and organic texture, and is often preferred in rustic, cabin, or Scandinavian-inspired spaces.
- White shiplap reflects light and makes rooms feel more open and airy.
- Natural wood tones add warmth and a cozy, organic feel.
- Painted shiplap is easier to match with changing decor over time.
- Natural wood requires sealant or finish to protect and enhance the grain.
- A semi-transparent stain can offer a middle ground between painted and raw wood looks.
How to create a coastal or beach house look with shiplap?
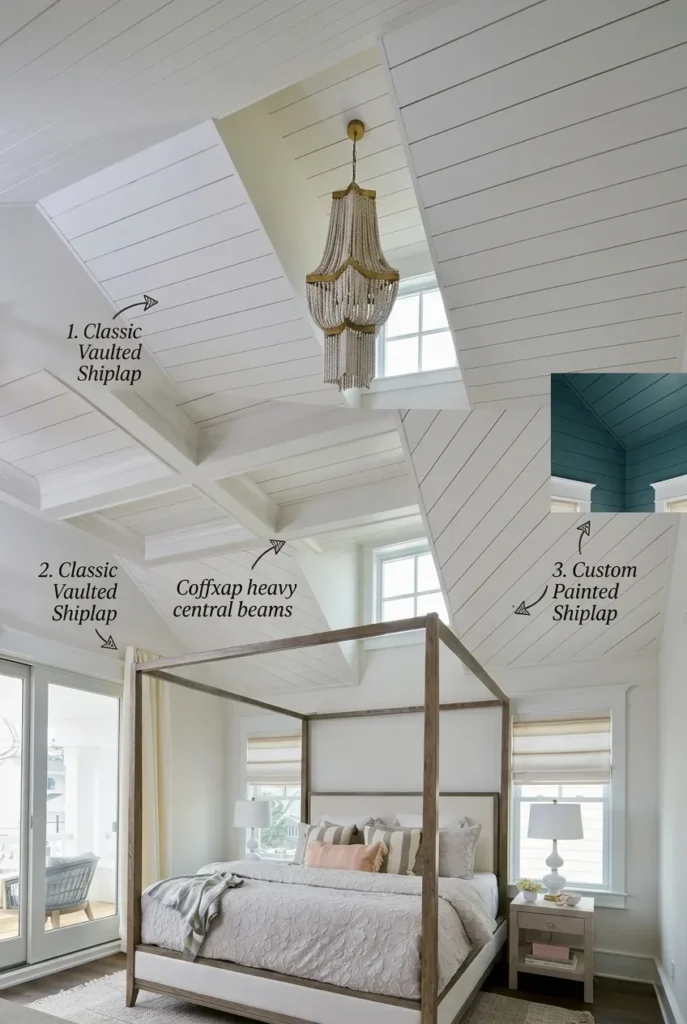
A coastal shiplap ceiling typically uses wide, whitewashed or light gray boards paired with airy, natural textures throughout the rest of the room. Pairing the ceiling with rope details, woven light fixtures, and a soft, breezy color palette helps reinforce the beach house feel. Keeping the boards slightly imperfect or weathered in appearance also adds to the relaxed, seaside atmosphere.
How to install shiplap on a ceiling with existing popcorn texture?
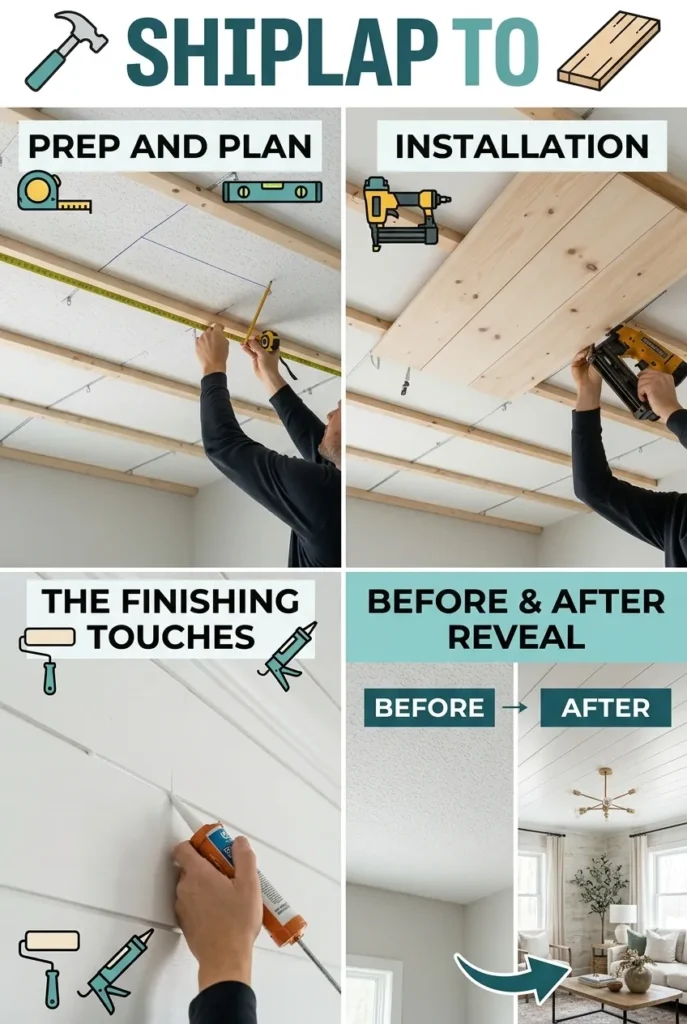
Shiplap is one of the most popular solutions for covering an outdated popcorn ceiling without the mess of scraping it off entirely. In most cases, shiplap boards can be installed directly over the popcorn texture as long as furring strips are added first to create a flat, even nailing surface. This method saves significant time and avoids the health and safety concerns associated with removing older popcorn texture that may contain asbestos.
How can shiplap be used to enhance a small bedroom?
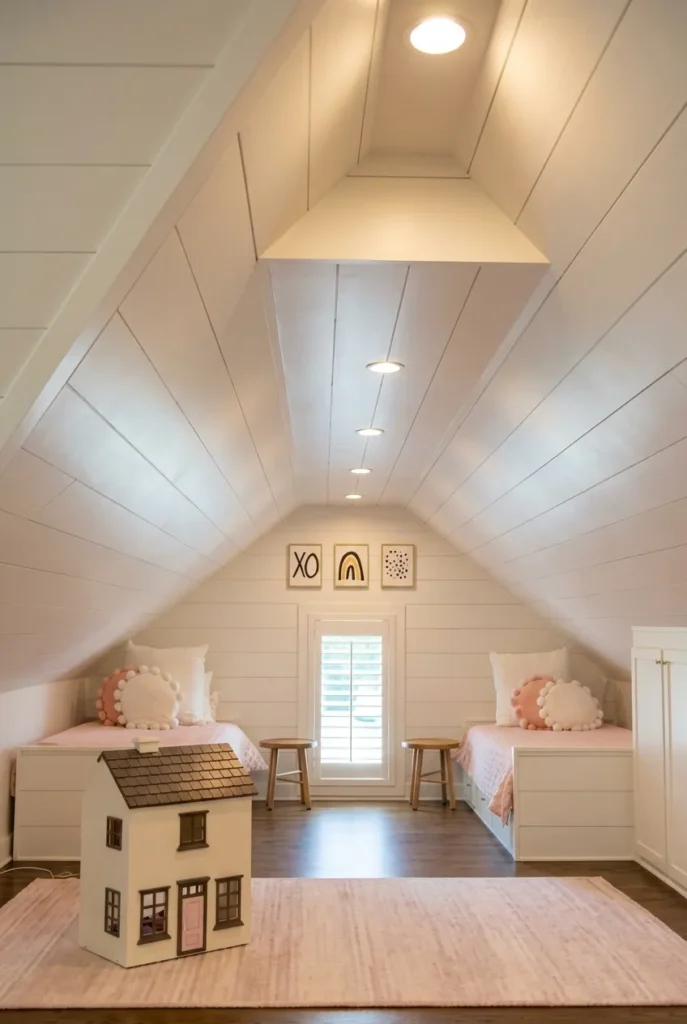
In a small bedroom, a shiplap ceiling can add texture and visual interest without taking up any floor space, making it an ideal design choice for compact rooms. Lighter, painted shiplap tends to work best in small spaces, as it keeps the room feeling bright and open rather than closed in. Pairing the ceiling with a lower-profile lighting fixture also helps maintain a sense of openness in a smaller room.
How to integrate shiplap seamlessly with crown molding?
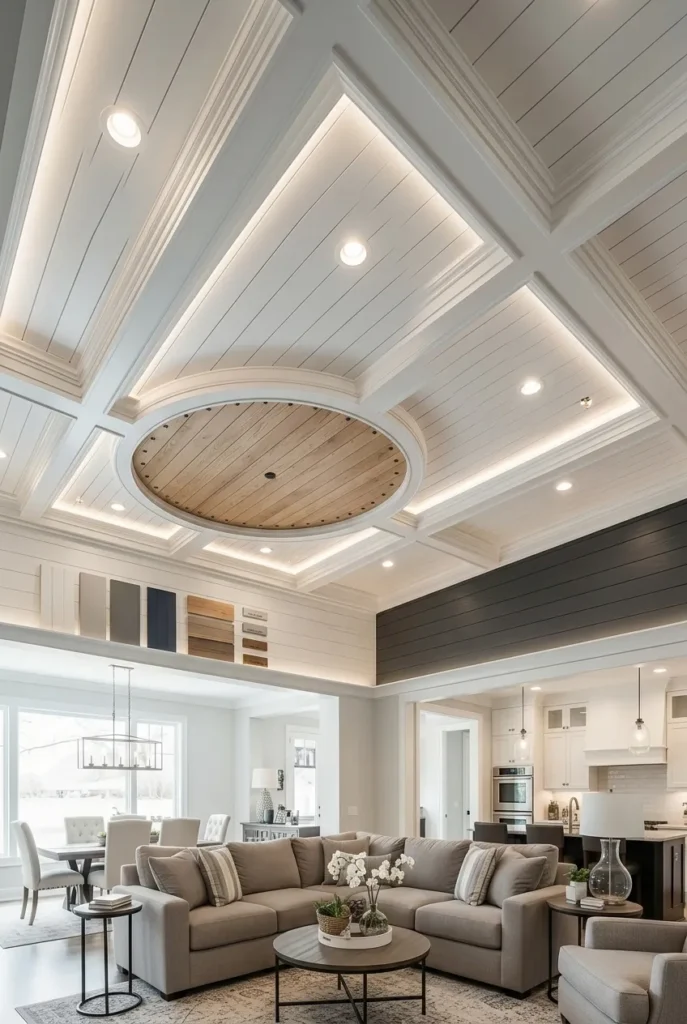
Combining shiplap with crown molding creates a polished, transitional look that bridges rustic and traditional design elements. The molding is typically installed at the point where the ceiling meets the wall, covering the raw edges of the shiplap boards and creating a clean, finished appearance. Matching the paint or stain color between the shiplap and molding helps the two elements feel intentional rather than mismatched.
- Crown molding conceals the raw edges where shiplap meets the wall.
- Matching finishes between molding and shiplap create a cohesive look.
- This combination works well in transitional and traditional style homes.
- Molding profile size should be proportional to the shiplap board width.
- Caulking the seam between molding and shiplap ensures a clean, finished edge.
What are the best methods for cleaning and maintaining shiplap?
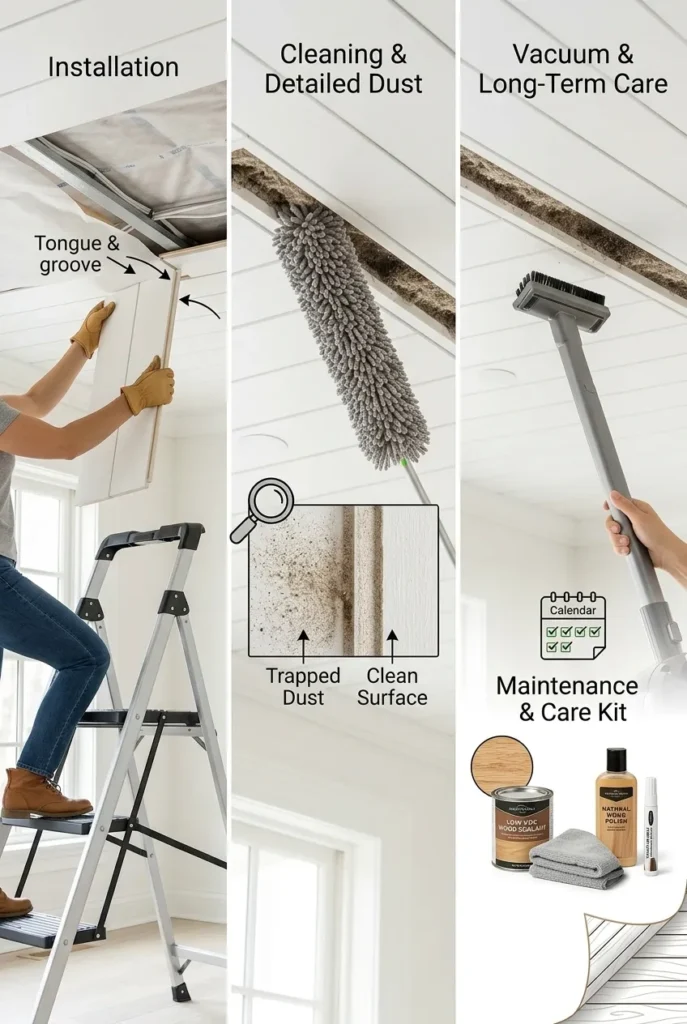
Shiplap ceilings generally require minimal maintenance, but regular dusting helps prevent buildup in the recessed seams between boards. A microfiber duster or vacuum attachment with a soft brush works well for reaching into the reveal lines without scratching the finish. Painted shiplap can typically be wiped down with a damp cloth, while natural wood finishes should be cleaned with products appropriate for the specific sealant used.
- Regular dusting prevents buildup in the recessed seam lines.
- A soft brush vacuum attachment reaches into grooves effectively.
- Painted shiplap can be wiped down with a damp, non-abrasive cloth.
- Natural wood finishes require cleaning products suited to the specific sealant.
- Avoid harsh chemical cleaners that could damage paint or wood finishes.
What are the pros and cons of real wood shiplap vs. MDF shiplap?
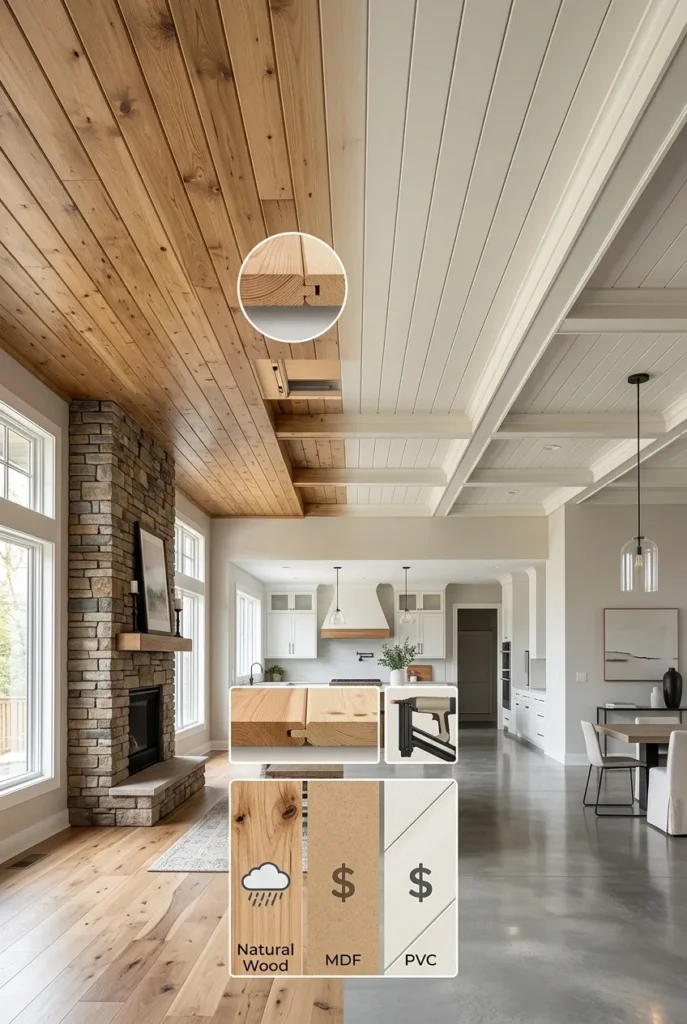
Real wood shiplap offers authentic grain texture and can be sanded, stained, or refinished over time, but it tends to be more expensive and more susceptible to warping in humid conditions. MDF shiplap is more affordable, arrives pre-primed for painting, and resists warping better than solid wood, though it is more vulnerable to water damage and cannot be effectively refinished if damaged. The right choice often depends on budget, room humidity levels, and whether a natural wood look is a priority.
- Real wood offers authentic texture and can be refinished over time.
- MDF is generally more budget-friendly and resists warping well.
- Real wood is more prone to expansion and contraction with humidity.
- MDF is more vulnerable to water damage and swelling if exposed to moisture.
- MDF is typically the better choice for rooms that will always be painted.
Can shiplap be installed effectively in a humid bathroom?
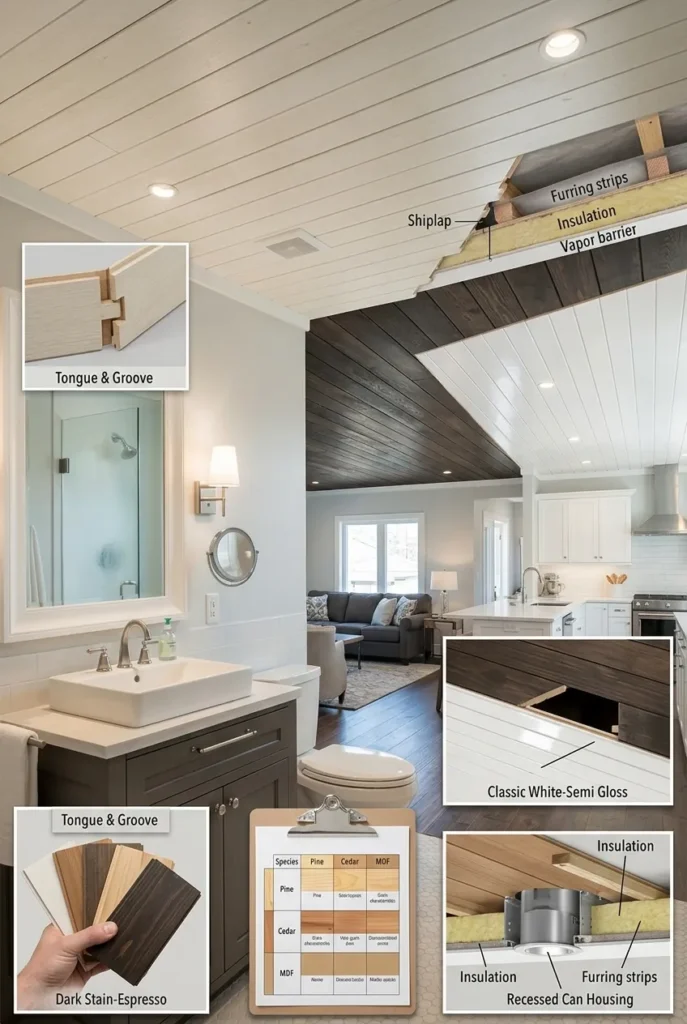
Shiplap can be installed in a bathroom, but it requires careful material selection and proper sealing to withstand consistent moisture and humidity exposure. Solid wood or MDF shiplap should be avoided in high-moisture areas like directly around a shower, where a moisture-resistant material such as PVC shiplap or properly sealed wood is a safer choice. Adequate ventilation, such as an exhaust fan, is also essential to help control humidity levels and protect the material over time.
- PVC or moisture-resistant shiplap is safer for high-humidity bathrooms.
- Proper sealing is essential if using real wood or MDF in a bathroom.
- Good ventilation helps control humidity and protect the shiplap.
- Avoid installing standard wood shiplap directly around a shower area.
- Regular inspection helps catch early signs of moisture damage.
How to use shiplap to hide ceiling imperfections?
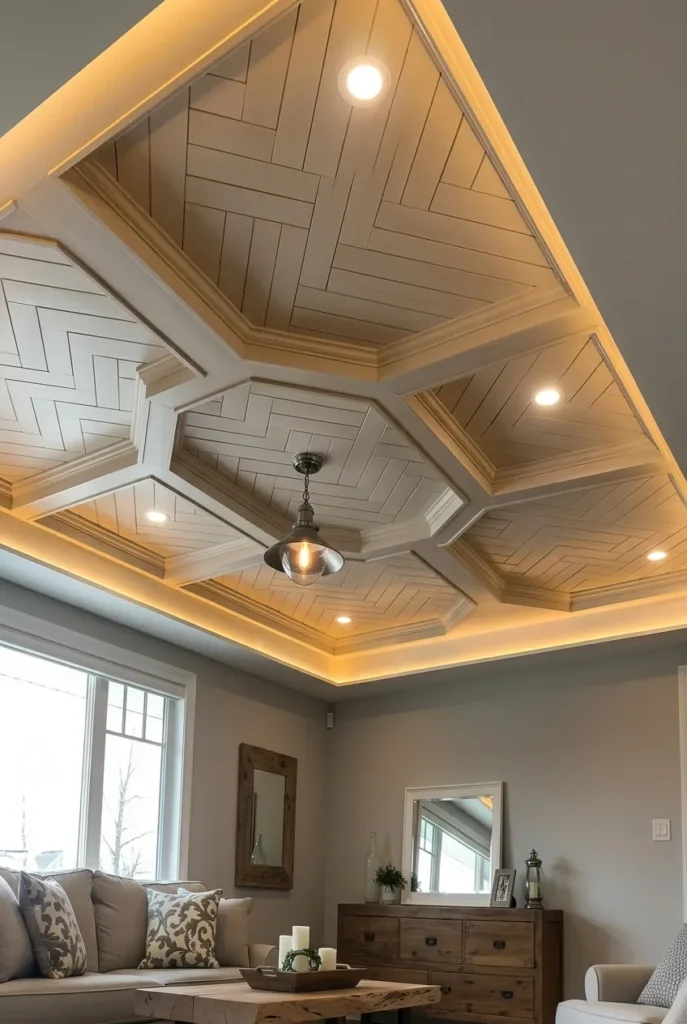
Shiplap is an effective way to cover uneven surfaces, water stains, cracks, or outdated textures without the cost and mess of a full ceiling replacement. Furring strips are typically installed first to create a flat, level base, which also helps conceal minor dips or unevenness in the original ceiling surface. Because shiplap boards are installed individually, they can flex slightly to accommodate small imperfections that would be more visible with a single continuous surface like drywall.
How to incorporate lighting fixtures (like recessed lights) into shiplap?
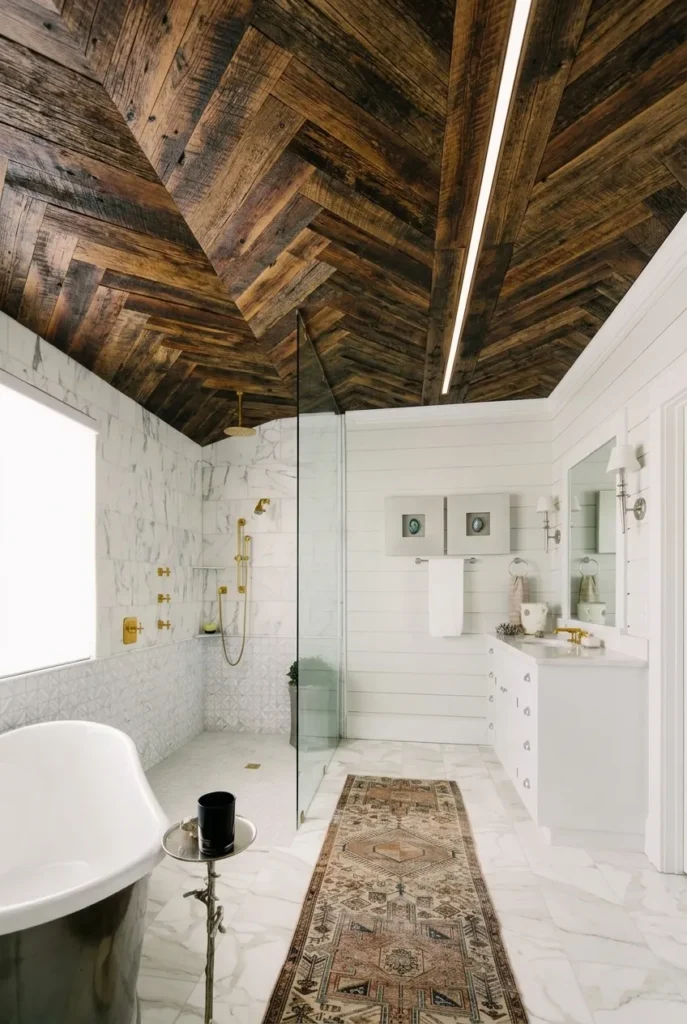
Recessed lighting can be integrated into a shiplap ceiling, but it requires careful planning before installation to ensure the fixture openings align properly with the board layout. It’s important to map out light fixture locations in advance so that cuts can be made cleanly between or across boards without compromising structural support. Working with an electrician early in the planning process helps ensure wiring is properly placed before the shiplap boards are installed.
- Fixture locations should be planned before shiplap installation begins.
- Clean, precise cuts are needed to fit recessed lighting into the boards.
- Coordinating with an electrician early prevents wiring conflicts later.
- Pendant or flush-mount fixtures can also be used as lighting alternatives.
- Symmetrical light placement helps maintain a balanced overall design.
What are the current design trends for shiplap spacing and gaps?
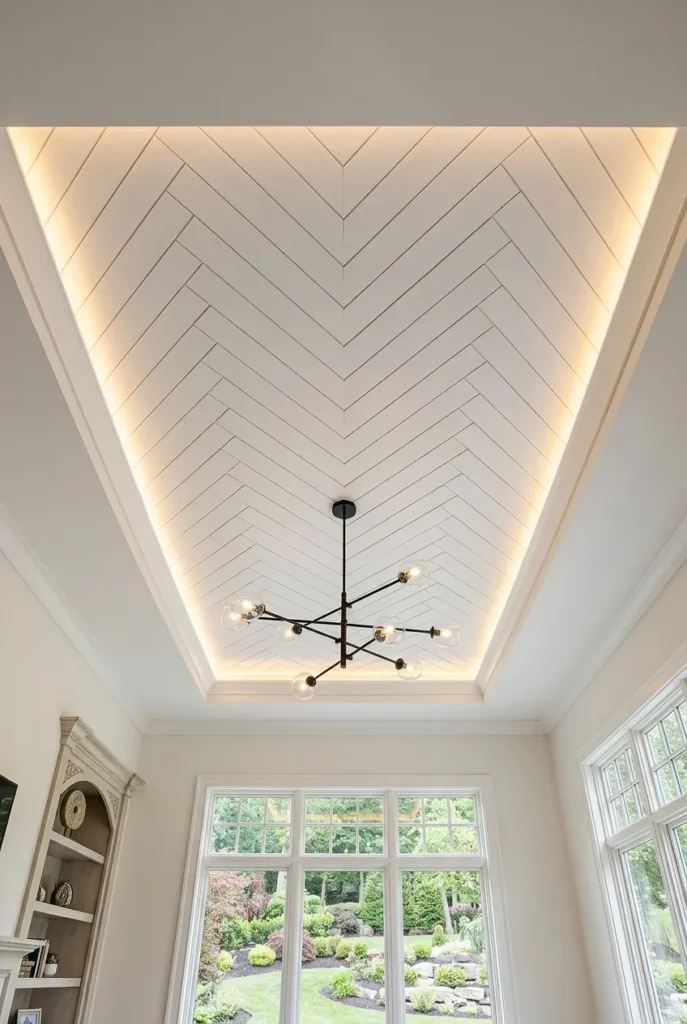
Current shiplap trends favor smaller, more subtle gaps between boards compared to the wider, more rustic reveals popular in earlier farmhouse designs. Many homeowners are now opting for a tighter, more refined spacing that leans closer to a modern plank wall look while still retaining the classic shiplap silhouette. Wider boards with minimal spacing are also trending, offering a cleaner appearance that suits contemporary and transitional interiors.
- Tighter board spacing creates a more refined, modern appearance.
- Wider boards with subtle gaps are trending in transitional interiors.
- Wide rustic gaps remain popular in traditional farmhouse designs.
- Board width and spacing should complement the room’s overall scale.
- Consistent spacing throughout the ceiling ensures a polished result.
How can shiplap add a farmhouse touch to a modern kitchen?
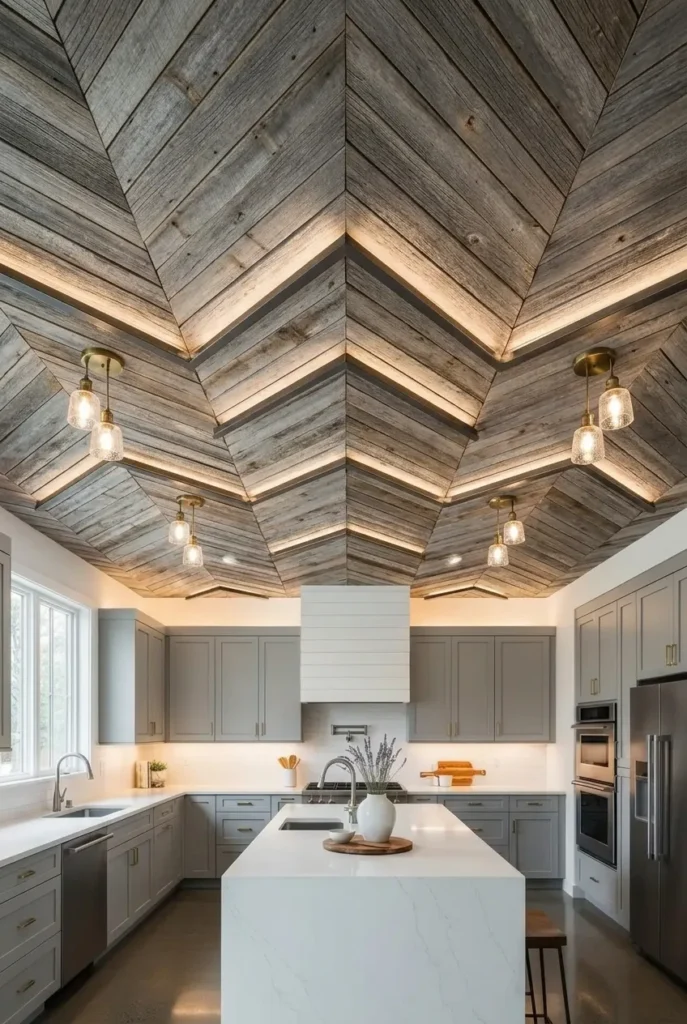
Adding a shiplap ceiling to an otherwise modern kitchen introduces warmth and texture that softens the sleekness of contemporary cabinetry and appliances. White or light-toned shiplap tends to work best in this setting, keeping the overall look bright while still adding farmhouse character overhead. Pairing the ceiling with a mix of modern lighting fixtures and traditional hardware helps strike a balance between farmhouse charm and contemporary function.
How to use shiplap with existing exposed wood beams?
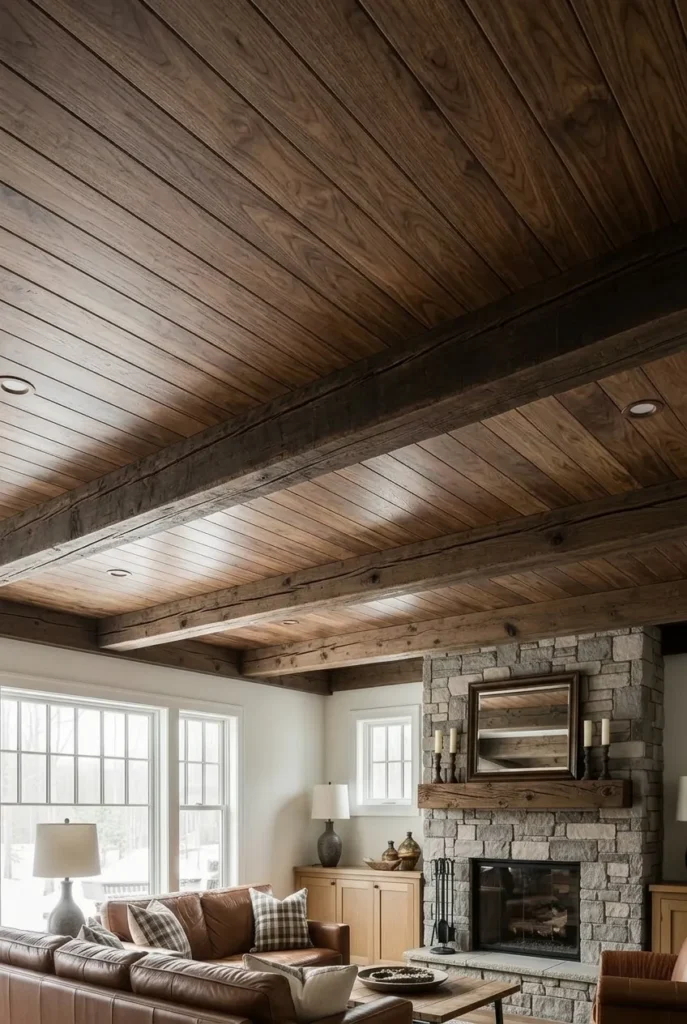
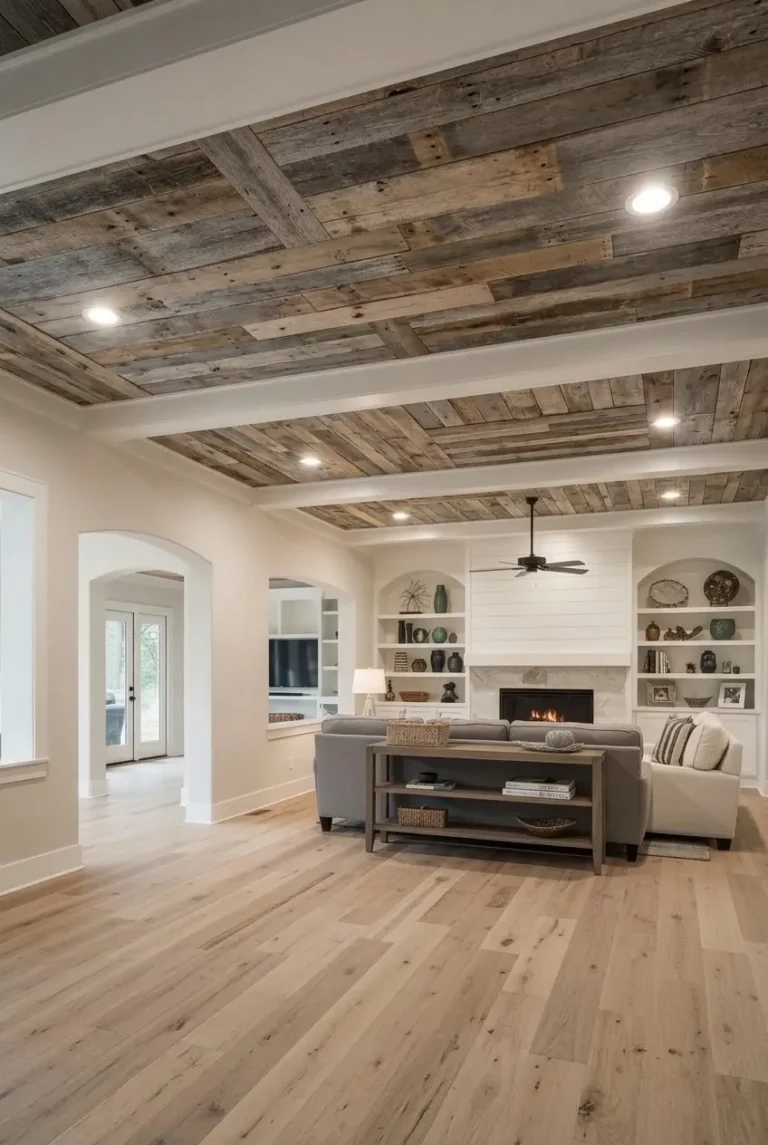
When a ceiling already has exposed wood beams, shiplap can be installed between the beams to fill the flat sections while allowing the beams to remain the dominant structural feature. Choosing a shiplap tone that complements, rather than matches exactly, the beam color helps prevent the ceiling from looking flat or monotonous. This combination is especially popular in farmhouse and rustic homes, where the contrast between structural beams and paneled sections adds depth and dimension.
- Shiplap can be installed between beams to fill flat ceiling sections.
- A complementary, rather than matching, tone adds visual depth.
- This pairing works especially well in farmhouse and rustic interiors.
- Beams remain the dominant structural and visual feature of the ceiling.
- Careful measuring ensures shiplap fits cleanly around each beam.
Conclusion
Shiplap ceilings offer one of the most flexible and impactful ways to add character to a home, whether the goal is covering an outdated popcorn texture, defining a zone in an open floor plan, or simply bringing warmth to a room through natural wood tones. From coastal white finishes to dramatic dark colors and rustic beam pairings, shiplap can be adapted to suit nearly any architectural style and personal preference. With the right planning around board direction, spacing, and finish, a shiplap ceiling can become one of the most memorable design features in the entire home.
Frequently Asked Questions
What should I finish the shiplap with if I want the natural wood look?
A clear or lightly tinted polyurethane sealant is commonly used to protect natural wood shiplap while preserving its grain and color. For a slightly more matte, weathered appearance, a wax finish or a low-sheen sealant can also be used instead of a glossy topcoat. Whichever product is chosen, it should be applied evenly and allowed to fully cure before the room is used regularly.
How much shiplap should I buy?
To determine how much shiplap is needed, measure the total square footage of the ceiling by multiplying its length and width. It’s generally recommended to purchase an additional ten to fifteen percent beyond that calculated total to account for cutting waste, mistakes, and future repairs. Keeping a small amount of extra material on hand also makes it easier to match the finish if repairs are ever needed down the line.
Can I install shiplap over textured wallpaper?
Shiplap can be installed over textured wallpaper in many cases, particularly when furring strips are used to create a flat, even surface for attachment. However, if the wallpaper is peeling, damaged, or poorly adhered to the wall, it’s best to remove it first to ensure the shiplap has a stable, long-term surface to be secured to. Checking the condition of the wallpaper before installation helps prevent future issues with the shiplap shifting or loosening over time.